Campaign Overview

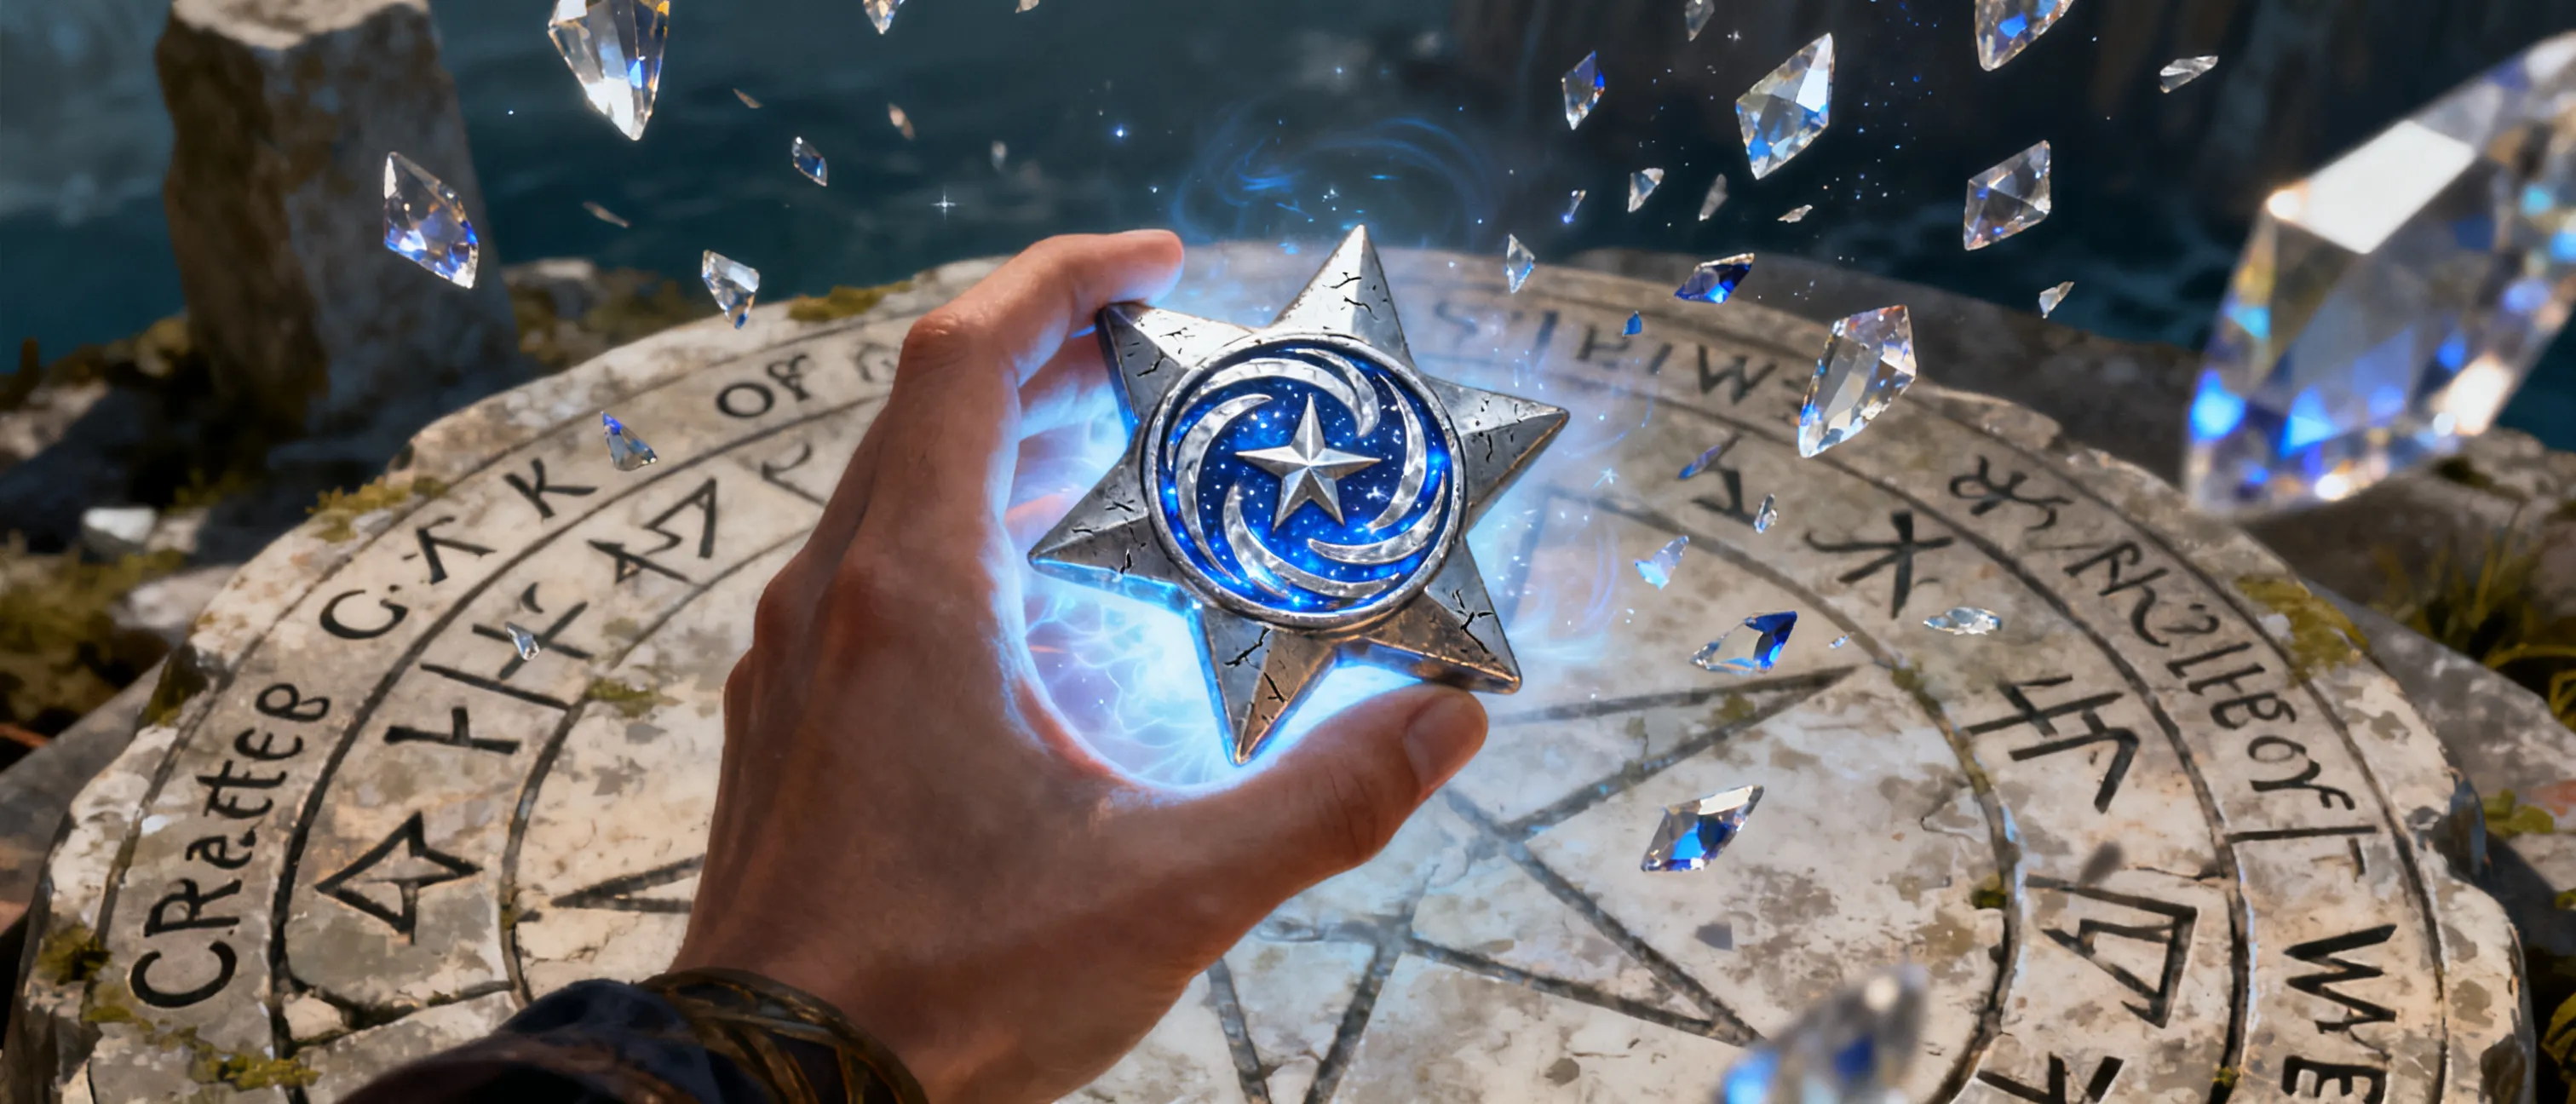
Shards of the Hundred Isles is a nautical fantasy campaign for a small party of heroes racing rival powers across an unexplored archipelago. A fallen star shattered into many fragments, each buried on a different island. Whoever gathers enough shards can forge a single, unlimited wish at the heart of the archipelago. The isles are contested by ambitious kingdoms, pirate opportunists, and older forces stirred awake by the starfall.

The campaign emphasizes tense negotiations, dangerous sea travel, island exploration, and sharp tactical battles. Every shard recovered changes the balance of power, drawing rivals closer and making each alliance more fragile. The party must decide who to trust, which factions to deceive, and whether a wish earned by conquest can ever be used safely.

Player Handout

The Star Fell Here

A hundred unexplored islands lie beyond the mapped seas, many no larger than a village and others hiding ruins, reefs, and old magic. A star fell among them years ago, scattering luminous shards across the archipelago. Legends say that if enough shards are gathered and brought to the heart of the fallen star, one wish without limit can be made.

What You Know

  • Rival kingdoms are sending ships, agents, and soldiers to claim the shards.
  • Islanders, smugglers, and privateers can be allies, enemies, or both.
  • The sea is as dangerous as the islands; every voyage risks storms, boarding actions, and sabotage.
  • The shards are not inert. They draw monsters, awaken old wards, and create strange effects in places touched by starlight.

Tone

High-stakes exploration, tense negotiations, and tactical combat on deck, beach, cliff, and ruin.

Your Goal

Find the shards before your rivals do, survive the contest, and reach the heart of the archipelago before someone else uses the wish first.

Playable Module
Levels 4 10 Sessions 12–16 sessions, 3–4 hours each

Shards of the Hundred Isles

This module is built for a 2-character party at level 4, though it can also support 3–5 PCs with scaling. The campaign runs as a race across a chain of one hundred mapped and unmapped islands, but only a portion are fully detailed; the rest are handled through travel events, rumors, faction pressure, and clue-driven expeditions.

The central conflict is between the party and two rival kingdoms, each of which wants the star shards for political leverage, divine proof, or military supremacy. A hidden sorcerer-lord, Aurex the Comet-Crowned, manipulates all sides from a drifting fortress built around the remains of the fallen star. He intends to gather the final resonance needed to twist the wish into a permanent dominion over the sea lanes.

The campaign is structured in three acts:

  • Act I: Establish the archipelago, introduce factions, recover the first shards, and survive first contact with rivals.
  • Act II: Escalate into island diplomacy, sabotage, sea battles, and betrayals as shard counts rise.
  • Act III: Race to the starfall crater at the center of the archipelago, stop Aurex, and decide the fate of the wish.

The module includes player-facing hooks, DM-only secrets and clue flow, runnable encounters, side quests, downtime, factions, villains, custom monsters, and treasure meant to keep a small party advancing without requiring additional design work.

Adventure Hooks

Wrecked Star Chart

The party salvages a star map from a wrecked courier vessel. The chart points toward the hundred isles and names one shard already claimed by a rival kingdom.
Royal Commission

A coastal ruler hires the party to secure star shards before enemy nations can weaponize them. The commission includes a small ship, but also political strings.

A Wish in the Tide

An aging navigator claims the fallen star can grant one unlimited wish. Their dying clue names the first three islands where the shards were seen.

Act Structure

Act I: First Light over the Near Shoals

Recommended level: 4-5

The party enters Port Haven, learns the shard race is real, and secures the first clues and shard fragments before rival expeditions can dominate the Near Shoals. This act is about establishing the campaign’s tone, the factions, and the practical dangers of sea travel.

Objectives

  • Secure a seaworthy route into the Near Shoals
  • Meet the main political players in Port Haven
  • Recover the first star shard
  • Learn that the shards form a larger pattern

Dockside Briefing and Competing Offers

Port Haven, Salt Lantern Inn

The harbor smells of tar, brine, and wet rope. Every table is occupied by someone who wants a map, a favor, or a secret more than they want dinner.

Open with several competing offers: official commission, smuggler shortcut, and prophetic warning. Let the party choose which lead to pursue first, but make it clear all roads eventually point toward the same shard race. This scene establishes the social triangle between the factions and the local port authorities.

Checks
  • Insight DC 12 to read which patron is hiding something
  • Persuasion DC 13 to secure a modest travel grant
  • History DC 12 to recognize old starfall references in a chart
Clues
  • The first shard lies in the Near Shoals.
  • Rival expeditions are already active.
  • Aurex’s symbol appears in a fake chart watermark.
Transitions
  • If the party takes the royal commission, they gain legal support but more scrutiny.
  • If they work with smugglers, they gain speed but lose trust with the harbor authorities.
  • Any choice can lead to the reef beacon expedition or the observatory scene.

The Dark Reef Beacon

Near Shoals beacon rock

A dead lens stares across the surf. Below the stairs, lantern light flickers where no beacon flame should be burning.

Run this as both a combat and exploration scene. The party can scale the beacon, fight off scavengers, and recover the hidden ledger. Make the beacon restoration matter immediately by letting nearby ships comment on the restored light later.

Checks
  • Athletics DC 12 to climb the slick rock
  • Perception DC 13 to notice the hidden cellar
  • Thieves' Tools DC 12 to bypass a rusted lock
Clues
  • A hidden ledger names early starfall expeditions.
  • One rival faction funded the scavengers.
  • The observatory can identify shard glow at distance.
Transitions
  • The ledger points to the Broken Monastery.
  • Restoring the beacon unlocks safer travel through the shoals.
  • If the party fails, they still learn who is hunting them.

Lantern Cape Star Reading

Lantern Cape Observatory

Brass lenses tilt toward the sky as if listening. In the dark glass, one star burns brighter than the rest, then fractures into three images over the sea.

Use this scene to deliver the campaign’s first big clue: the shards are resonating. Sister Maelin can be a helpful guide or a diplomatic complication if the players have mishandled other political contacts. The scene should feel like a revelation rather than a lecture.

Checks
  • Arcana DC 13 to interpret the resonance pattern
  • Investigation DC 14 to spot the hidden spy marks
  • Persuasion DC 12 to earn Maelin's cooperation
Clues
  • The shards are arranged around a central point.
  • The next visible shard trail leads to the Broken Monastery.
  • Someone at the observatory is leaking information.
Transitions
  • The observatory charts point toward the monastery.
  • The hidden spy can become a recurring antagonist or a captured informant.
  • If the party secures Maelin’s trust, she helps later with the wish forge ritual.

Milestone: The party reaches level 5 after recovering the first shard or exposing the first rival expedition.

Act II: War of Charts and Currents

Recommended level: 5-8

The campaign broadens into faction maneuvering, ship conflict, and more difficult island sites. The party learns that shard gathering affects naval politics and that rival kingdoms are willing to negotiate, betray, or fight depending on the leverage presented to them.

Objectives

  • Win or survive at least one diplomatic parley
  • Recover two to three additional shards
  • Navigate ship combat or boarding actions
  • Identify Aurex as the hidden manipulator

Thornscale Anchorage Parley

Thornscale Anchorage

Rope bridges sway above black water as captains sit beneath the canopy with hands open and eyes narrowed. Every smile here is a trap waiting to be sprung.

This is the campaign’s core negotiation scene. Give the players multiple meaningful options: secure passage, expose an assassin, bargain for a route, or stage a bluff. If they start a fight, make the environment dangerous but not instantly overwhelming.

Checks
  • Deception DC 13 to sell a false route
  • Insight DC 14 to identify the true instigator
  • Intimidation DC 14 to prevent a challenge from escalating
  • Persuasion DC 15 to broker temporary passage
Clues
  • One rival lieutenant is meeting smugglers secretly.
  • Aurex's agents are pushing both factions toward war.
  • The next shard lies on or beneath a reef-locked island.
Transitions
  • Success grants safe passage and information about the Glass Reef.
  • Failure triggers the Thornscale Negotiation Gone Wrong encounter.
  • A captured messenger can reveal the route to the next shard.

The Bellkeeper's Puzzle

Broken Monastery of Seven Bells

The bells hang silent until a gust of wind passes through the tower. Then one note rings out, and the whole ruin answers like a sleeping giant.

This scene should reward observation and experimentation. The party can solve the bell sequence, bypass it with clever magic, or brute force the vault. Once inside, the shard’s resonance should visibly react to any earlier shard the party carries.

Checks
  • Religion DC 13 to identify the bell sequence
  • Performance DC 12 to ring the pattern correctly
  • Athletics DC 14 to force the vault when warded
Clues
  • The bell code maps to the central route.
  • The monastery ward was meant to prevent someone from awakening the wish forge.
  • A rival team has already pried at the vault doors.
Transitions
  • Solving the bells grants a safe route through the Outer Ring.
  • Failure can still yield the shard, but with reinforcements arriving.
  • The bell code becomes important in the final act.

Storm Chase at Sea

Between the Outer Ring and the Inner Sea approaches

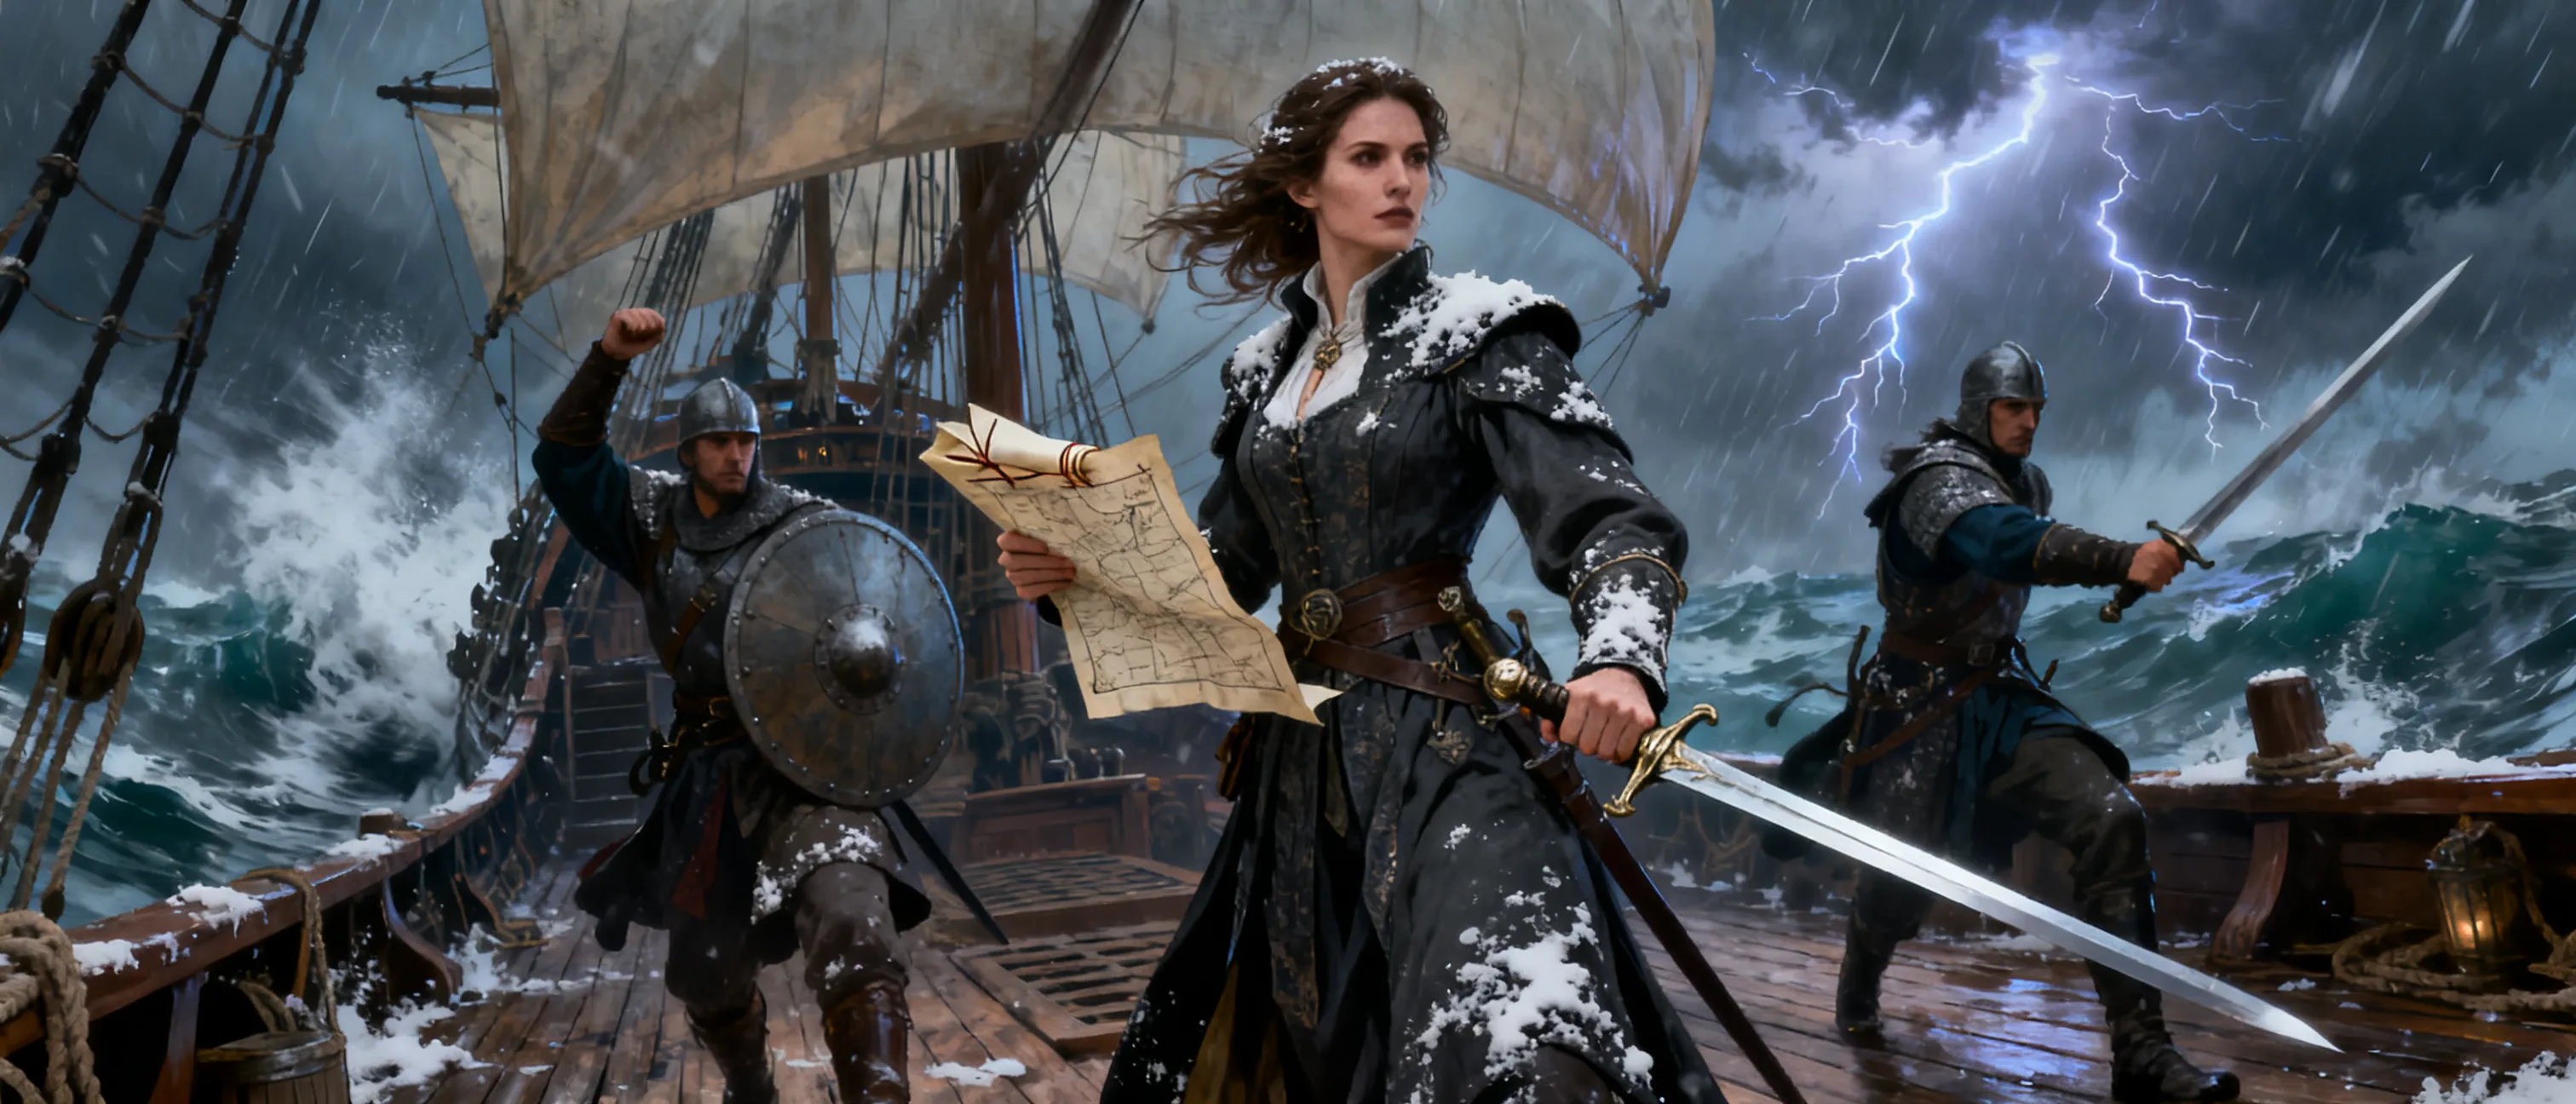
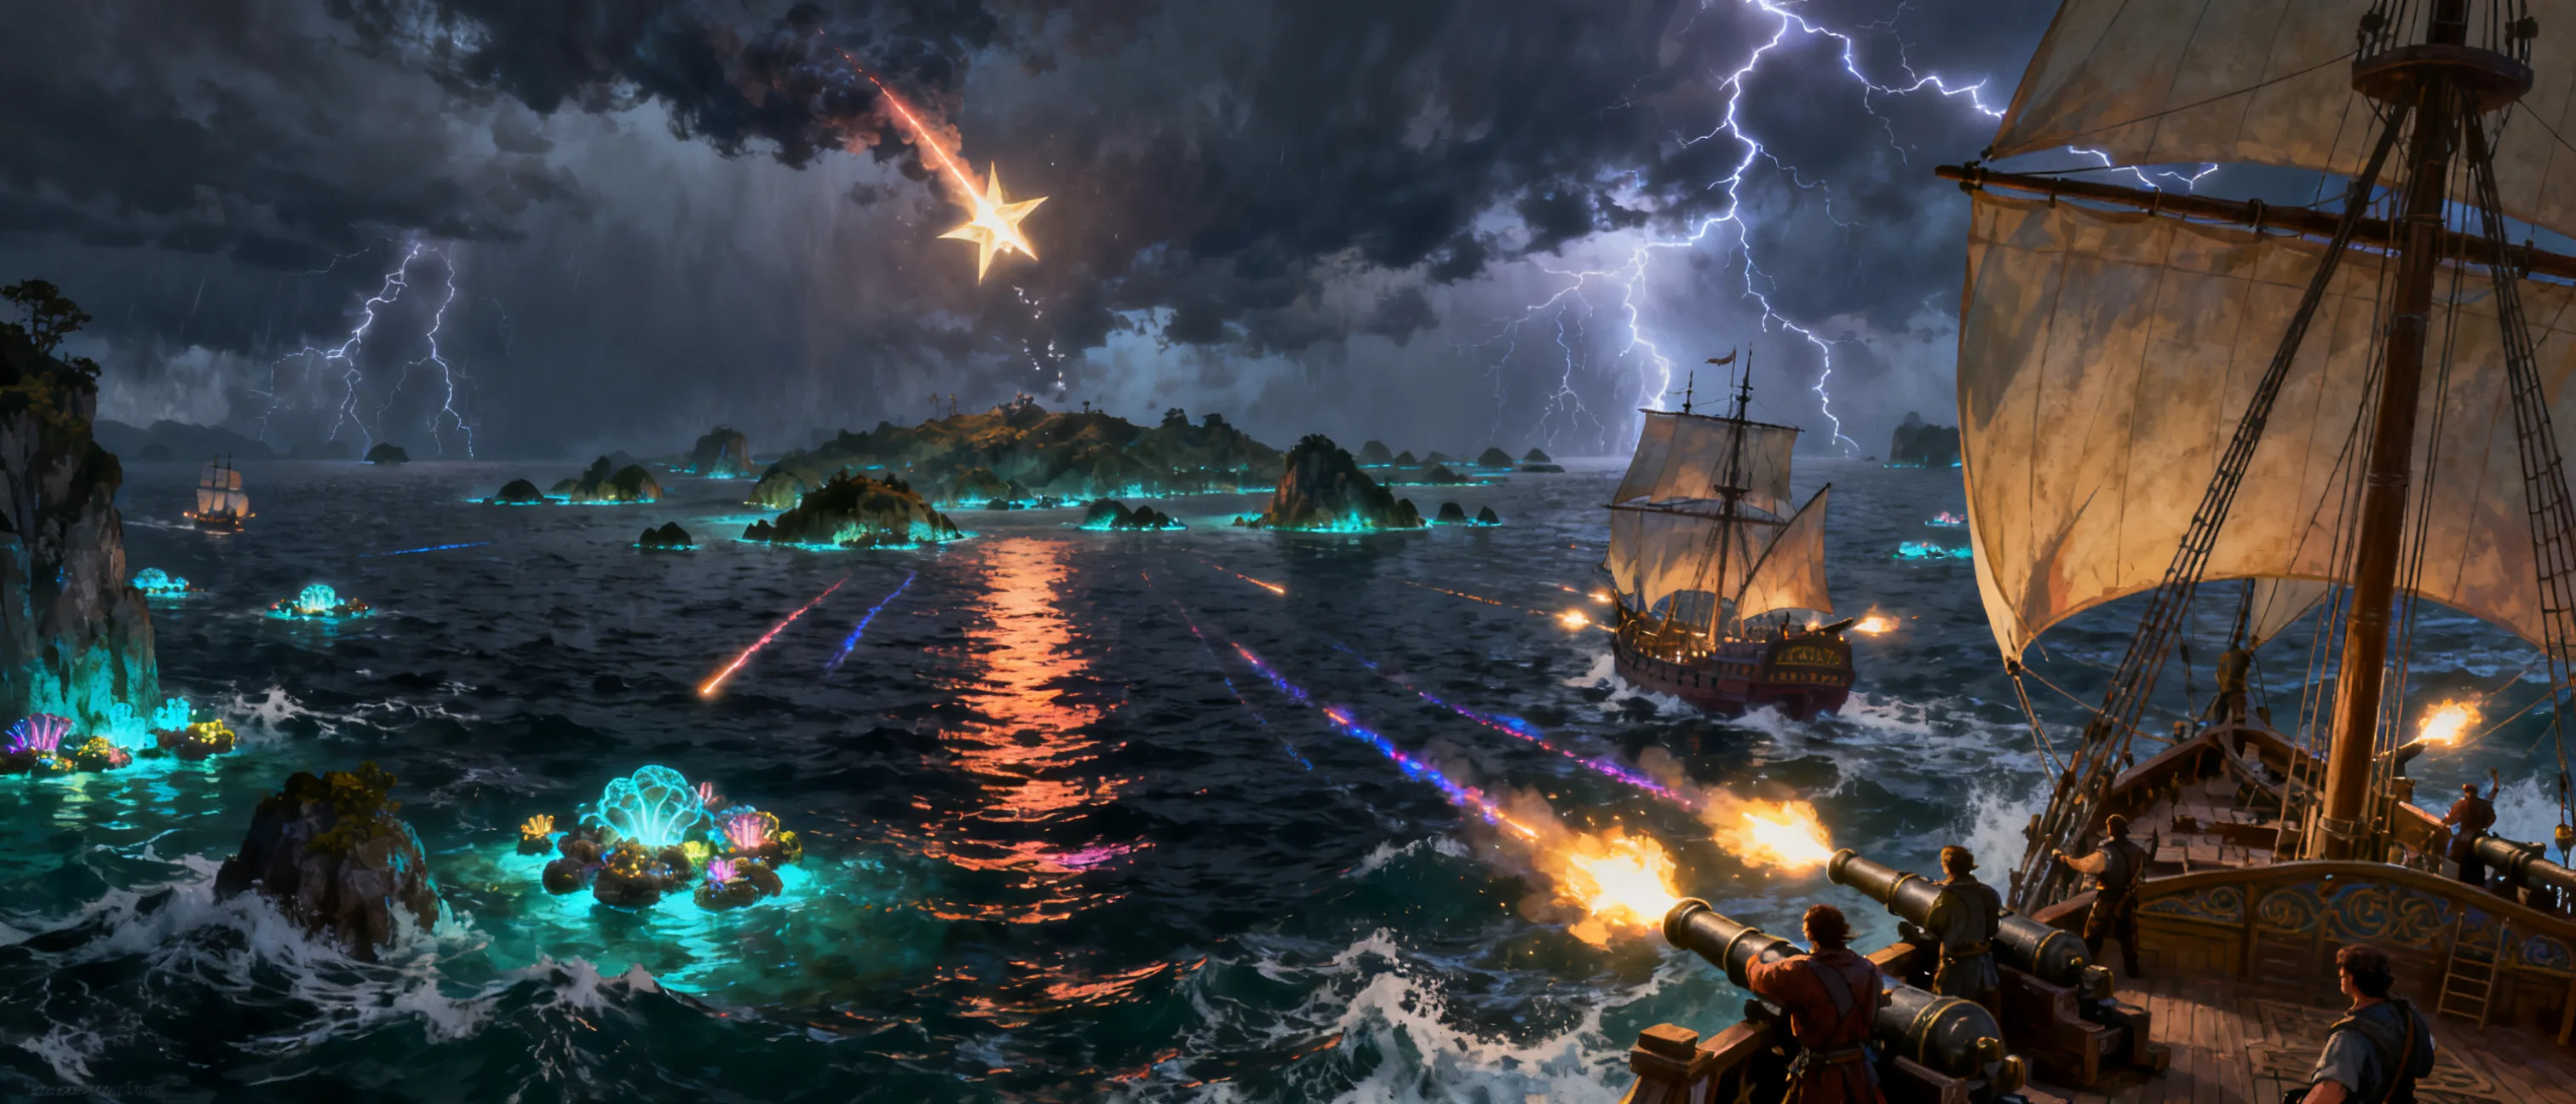
The storm comes sideways, hammering the deck while a second ship emerges from the rain like a blade from a sleeve.

Turn this into a full tactical ship scene with boarding hooks, mast damage, and weather pressure. Use checks to control sails, spot boarding teams, and keep cargo from washing overboard. This is the point where the campaign should feel openly militarized.

Checks
  • Vehicles (water) DC 13 to maneuver through squalls
  • Perception DC 13 to spot the enemy approach early
  • Athletics DC 12 to hold the rigging under pressure
Clues
  • The rival ship’s orders mention a false-flag operation.
  • Aurex’s marks appear on the enemy route map.
  • The Inner Starfall Sea has a safer entrance at the Moonless Pilots' Shrine.
Transitions
  • Victory gives the party time and momentum.
  • Defeat may cost a shard but reveals the enemy chain of command.
  • The storm can carry the party toward the shrine if they choose caution over pursuit.

Milestone: The party reaches level 7 after recovering three shards or making a major alliance that changes the balance of power.

Act III: The Wish Forge at the Center of the Isles

Recommended level: 8-10

The final act is a race into the Inner Starfall Sea, where the truth about the fallen star is revealed. The party must navigate the final truce, confront Aurex’s fortress, and decide whether to claim, redirect, or destroy the wish-making mechanism.

Objectives

  • Broker or survive the final truce
  • Infiltrate or assault the Driftforge Bastion
  • Stop Aurex from completing the ritual
  • Decide the fate of the wish and the archipelago

The Moonless Truce

Moonless Pilots’ Shrine

The shrine’s mirrored stones catch no moonlight, yet every face here is bright with the reflection of held-breath fear. Two fleets wait beyond the surf, ready to turn peace into smoke.

This scene is a negotiation pressure-cooker. Let the party bring rival commanders into the same room and force a temporary decision. The party can reveal Aurex’s manipulation, exchange proof, or threaten mutual destruction. Even failure should leave a path to the final assault.

Checks
  • Persuasion DC 16 to secure a temporary alliance
  • Insight DC 15 to spot who is about to sabotage the talks
  • Deception DC 15 to frame Aurex's evidence convincingly
Clues
  • Aurex needs resonance, not just quantity.
  • The shrine hides an older seal beneath its floor.
  • The final route through the crater is only safe at a specific tide.
Transitions
  • A successful truce grants allied support in the final battle.
  • A failed truce means the final approach is contested by multiple fleets.
  • Either outcome leads into the crater and bastion assault.

Assault on the Driftforge

Driftforge Bastion outer decks and walkways

Star-metal moans like a ship under strain. Above the crater, a fortress hangs from chains and light, its doors opening one by one like a machine waking from a long sleep.

Treat this as a layered infiltration or siege. The party may sneak aboard, board from the sea, or join an allied assault. The environment should be as much an enemy as the guardians: falling bridges, pressure plates, shard bursts, and shifting gravity all matter.

Checks
  • Athletics or Acrobatics DC 14 to cross damaged walkways
  • Stealth DC 15 to avoid outer patrols
  • Arcana DC 15 to suppress a shard surge
Clues
  • The fortress is using collected shards to guide the ritual.
  • Aurex is already inside the final chamber.
  • There is a control key that can redirect the wish forge.
Transitions
  • Success opens the final confrontation.
  • Failure can still push the party into the inner sanctum through a damaged shaft or emergency passage.
  • Any allies gained earlier may appear here if the truce succeeded.

The Crater's Choice

Crater of Quiet Waves

At the center of the world-wound, the sea is still. The shards in your possession sing together, and the air tastes like lightning before a storm that has not yet decided what shape to take.

This is the ending scene after Aurex is defeated or interrupted. The party must decide whether to use the wish, redirect it, or break the forge. Make the outcome reflect every major relationship they built or shattered during the campaign. End with a consequence, not just a reward.

Checks
  • Arcana DC 15 to understand the forge's limits
  • Insight DC 14 to judge whether a rival is telling the truth
  • Charisma DC 16 to keep factions from fighting over the final wish
Clues
  • The wish is limited to one use.
  • The forge can rewrite a political order, but at a cost.
  • The archipelago will remember the decision through trade, loyalty, and legend.
Transitions
  • The campaign ends with the party’s chosen wish or its aftermath.
  • If they refuse the wish, the archipelago may stabilize without a single ruler.
  • If they use the wish, their decision becomes the new history of the hundred isles.

Milestone: The party reaches level 10 upon defeating Aurex or completing the final wish-forge decision.
Villain Plans

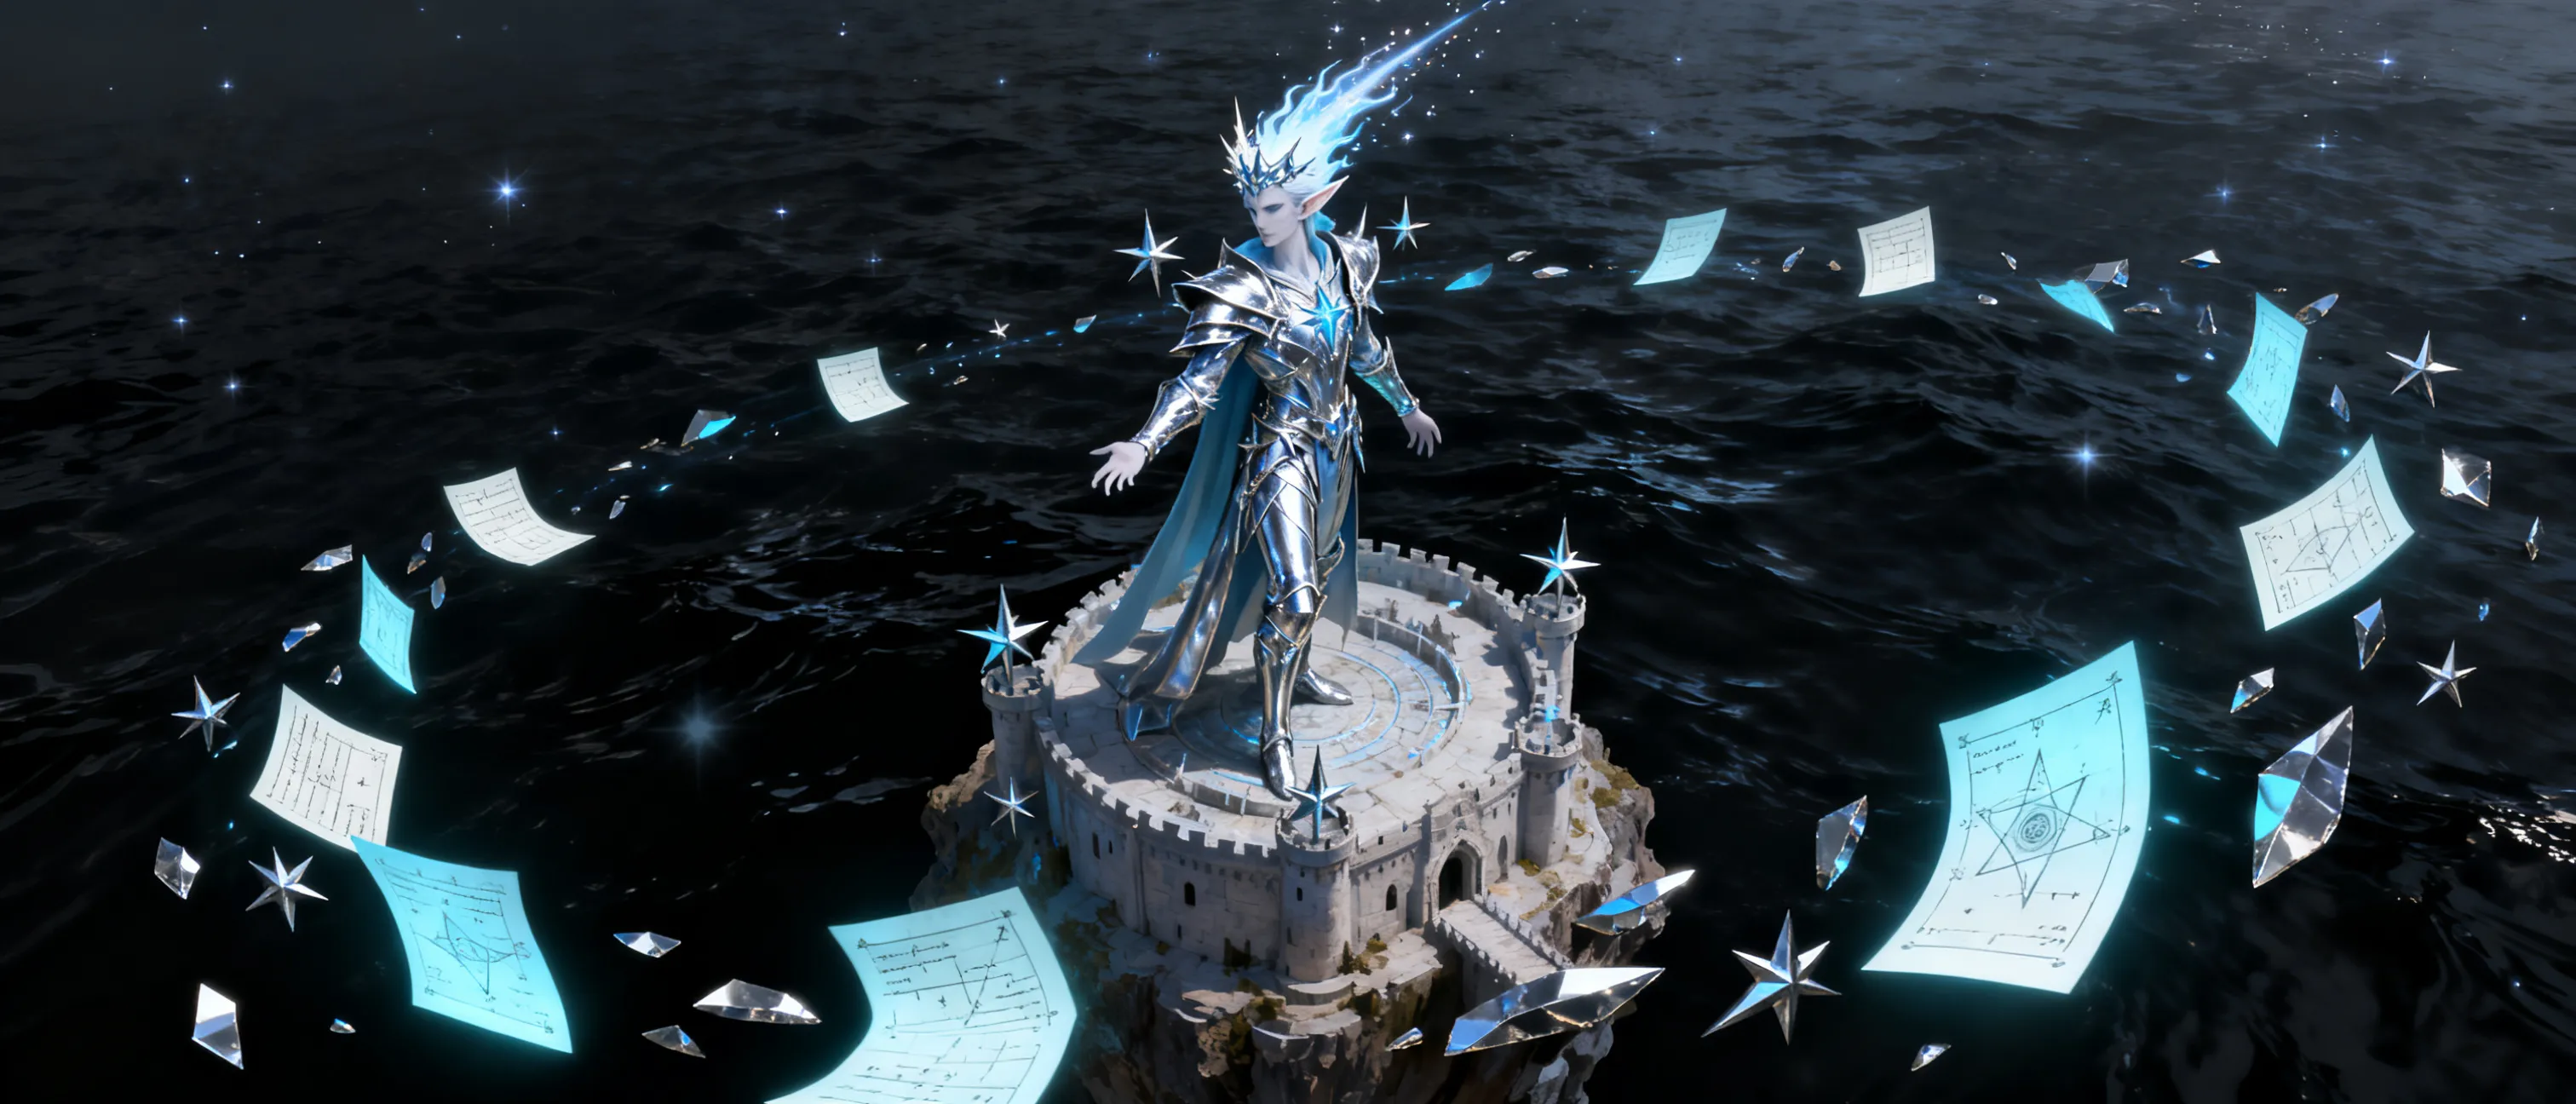
Aurex the Comet-Crowned Character Sheet

Central antagonist and master manipulator

Motivation

Aurex believes the archipelago is too fractured to survive rival conquest, so he intends to seize the wish and impose a single celestial order under his rule. He sees the parties and kingdoms as pieces in a larger inevitable alignment.

Personality

Smooth, visionary, and unsettlingly calm. He praises competence, frames cruelty as necessity, and speaks as if he has already seen the ending.

Resources

  • Driftforge Bastion
  • Shard resonance ritual
  • Star-touched guardians
  • Embedded spies among both factions
  • A network of false charts and celestial omens

Battle Plan

He delays direct confrontation until the party is exhausted, then isolates them with terrain hazards, summoned guardians, and control magic. He prefers to force choices that cost allies, cargo, or timing. If threatened, he retreats to the ritual chamber and accelerates the resonance rather than surrendering the shards.

Defeat or Redemption

If defeated, the wish can be claimed, redirected, or safely ended. If redeemed, he may reveal the only safe way to break the wish forge without destroying the archipelago.

Dame Seris Vale Character Sheet

Rival lieutenant and diplomatic pressure agent

Motivation

She wants her kingdom to win without descending into endless war. She is willing to compromise with the party if it preserves order, but she will betray a bad bargain to protect her nation.

Personality

Controlled, dignified, and faintly severe. She rarely raises her voice, which makes every warning feel final.

Resources

  • Legal authority
  • Diplomatic safe conduct papers
  • A fast courier ship
  • Two trusted bodyguards
  • Access to restricted charts

Battle Plan

She avoids battle unless cornered, then uses guards and the terrain to force a retreat rather than a kill. If she turns hostile, she fights to disable rather than destroy, aiming to capture the shards or the party’s proof.

Defeat or Redemption

She can be turned into an ally if the party exposes Aurex’s manipulation or saves her people from a false-flag attack.

Bosun Rell Harker Character Sheet

Rival lieutenant and naval commander

Motivation

Rell wants decisive victory and respects only results. He believes the wish should go to whoever can hold it against the sea, not whoever can claim the best legal right.

Personality

Blunt, fearless, and impatient. He talks like every sentence is a boarding order.

Resources

  • Boarding crew
  • A reinforced cutter
  • Saboteurs and deckhands
  • False flags and contraband weapons
  • Surviving veterans

Battle Plan

Rell opens with cannon fire, grapples, and deck pressure. He tries to break the party’s ship, then board and overwhelm them. If his crew begins losing, he will attempt a fighting retreat rather than surrender.

Defeat or Redemption

He can be fought, negotiated with, or convinced to stand down if Aurex is shown to be the true threat to his crew.

Running Notes

Recommended party: 2 players, level 4 start; works best with one martial frontliner and one support/control character. A sidekick or hireling sailor is recommended but not required.

Session Zero

Discuss whether the group wants more diplomacy, more naval combat, or a balanced mix. Confirm lines and veils around captivity, betrayal, and political coercion. Because the party is only two characters, decide whether a ship’s crew, hireling, or sidekick will fill missing roles such as pilot, healer, or crew support. Make clear that rival factions are recurring pressure, not constant PvP between players. Establish whether the wish can rewrite the world, or whether the table prefers a narrower, story-focused interpretation of the final wish.

Scaling Guidance

This campaign is tuned for 2 characters. For 2 PCs, keep encounter numbers at the low end, give enemies clear morale thresholds, and provide frequent environmental advantages the players can use. For 3–4 PCs, add one extra enemy to most combats or upgrade one enemy per encounter to a higher-tier official SRD creature if needed. For 5 PCs, add a second wave, a terrain hazard, or an allied objective that must be defended. Do not increase all encounters equally; instead, let ship battles and final-act scenes carry the heaviest pressure. If the party is under-leveled, delay the Inner Starfall Sea until they secure at least three shards and one strong faction ally.

DM Advice

Keep the campaign moving by always tying the next shard to a choice: bargain, steal, fight, or race. Reveal the faction consequences of each shard recovery immediately so the party feels the archipelago reacting to them. Use travel and port scenes to slow the pace between big battles. Aurex should remain offstage early, visible through symbols, intercepted orders, and manipulated rival moves. Let the party win allies through competence, not just charisma; small parties need visible benefits from each success.

Failure States

  • If the party loses the first shard race, a rival kingdom gains momentum and raises travel costs, but the campaign continues with the party pursuing stolen leads.
  • If the party alienates both factions, they must operate as outlaws and lose access to official ports, making smuggling and stealth the main path forward.
  • If Aurex completes the resonance ritual first, the wish forge becomes unstable and the final act becomes a rescue or sabotage mission rather than a direct claim.
  • If the party ignores the star resonance clues, they may still collect shards, but the final route becomes much harder to find and rival fleets reach the crater first.
  • If the final wish is used recklessly, the archipelago may be remade in a way that creates political fallout, magical instability, or a broken alliance ending.

Secrets & Clues

  • The star shards are resonance keys, not just treasure.
  • Aurex has agents planted in both rival kingdoms.
  • The shard pattern leads to a central wish forge beneath the crater.
  • One rival faction is prepared to use the wish to erase records of the archipelago.
  • The monastery bells encode a safe route to the center.
  • The wish can be redirected if the party understands the forge’s control key.
  • The starfall may have awakened a sleeping intelligence beneath the sea.

Appendix

Downtime

Chart the Currents

Spend downtime comparing local charts, tide logs, and shard resonance. Success can reveal safer routes, hidden islands, or the location of a rival convoy.

Requirements: Proficiency with navigator's tools or access to a knowledgeable guide

Rewards: Advantage on the next sea travel check; one route clue; possible faction contact

Time: 1 day

Location: Best performed in Port Haven, Lantern Cape Observatory, or Moonless Pilots' Shrine

Use this to keep travel moving without requiring a full navigation minigame.

Shipwright Repairs

Work with Tidewright Dockyard to upgrade a ship, patch damage, or conceal cargo. The party can turn salvage into practical advantage.

Requirements: Access to a dockyard and materials or coin

Rewards: Ship repairs, hidden compartments, reinforced hull, or reduced travel risk

Time: 1-3 days

Location: Port Haven dockyard or allied anchorage

Small parties benefit greatly from tangible ship support.

Faction Toast and Trade

Spend an evening cultivating one faction contact through negotiation, gifts, or rumors. This can open new offers or reduce hostility.

Requirements: A contact, gift, or useful information

Rewards: Improved faction attitude, discount, safe harbor, or escort offer

Time: 1 evening

Location: Salt Lantern Inn, Thornscale Anchorage, or a diplomatic camp

Use to reward roleplay and create leverage before major scenes.

Rumors

  • A star shard can boil seawater if placed in an iron bowl under moonlight.
  • The rival kingdoms are using identical maps because someone sold both of them the same fake route.
  • A monastery bell pattern can calm star-corrupted reefs.
  • A ghost ship appears whenever three shards are within a day’s sail of one another.
  • The wish forge grants one wish only, but the sea decides the price.

Random Events

  • A rival scout ship is sighted on the horizon and closes fast.
  • A sudden squall forces a navigation check or delays travel by one watch.
  • A drifting casket contains a dead courier and half-burned shard orders.
  • A sea turtle with a star-shaped shell guides the party toward a hidden cove.
  • A local fishing crew begs for help against reef predators in exchange for rumors.

Treasure Parcels

  • 50 gp, 2 potions of healing, and a waterproof map case in the Reef Beacon cellar.
  • One uncommon magic item and relic coins in the Broken Monastery vault.
  • 120 gp, rival orders, and a navigation chart recovered from the Glass Reef.
  • A rare consumable or ship upgrade token from Thornscale Anchorage.
  • A very rare shard focus or wish-related relic in the Driftforge Bastion.
  • A legendary-tier control key or final wish token in the Crater of Quiet Waves.

Spare Names

  • Admiral Sorel
  • Mist-Captain Juno Vane
  • Priest-Chartist Ilyra
  • Dockmaster Brann
  • Navigator Selk
  • Lieutenant Merrow
  • Captain Halden Rusk
  • Archivist Pell
  • Reef-Warden Mora
  • Pilot Kael

Starting Location

Port Haven and the Near Shoals

Port Haven is the campaign’s starting region: a salt-stained free port clinging to a protected bay at the edge of the unexplored archipelago. The harbor is crowded with fishing skiffs, survey ships, smugglers’ cutters, and war galleys flying rival colors under temporary truces. Masts crowd the skyline like a wooden forest, and every tavern wall is pinned with half-trustworthy charts of the nearby isles. The people of Port Haven are practical and wary; everyone here has lost someone to the sea, a rival kingdom, or the starfall itself.

The Near Shoals are the first ring of islands within a day’s sail: low reefs, wind-bent sandbars, ruined watchtowers, and volcanic outcrops where the first star shards were reported. In this region the party learns how the shard race works. Every recovered fragment changes faction behavior, opens new negotiations, and attracts more dangerous opposition. The port is also a social battlefield. Dockside merchants, royal envoys, priests, and captains all want the same thing: to be the one who controls the route to the next shard.

The region is intentionally dense with opportunities for bargaining, rumors, and skirmishes. It provides the first ship, the first allies, and the first proof that the archipelago is larger and stranger than any chart suggests. The Near Shoals are where the party learns that the wish is real, the rivals are organized, and the star shards are keys to something far greater than a pile of treasure.

Secrets

  • The first shard is not merely a treasure; it is a resonance key that reveals the route to the starfall center when placed beside three others.
  • One rival kingdom’s envoy is secretly authorized to negotiate a truce, but only if the party can prove the opposing faction has already broken one.
  • The star shards attract sea creatures because they echo a buried, sleeping intelligence below the archipelago.

Key Locations

The Salt Lantern Inn

A busy dockside inn where captains, smugglers, and foreign agents trade rumors over black rum and eel stew. The back room is neutral ground for negotiations, though knives still appear under the table. A chalkboard lists current ship departures, missing crews, and bounty notices for shard hunters. The innkeeper knows everyone’s business and sells accurate gossip for surprisingly little, provided no one is trying to start a war inside her walls.

Additional Notes

Use this as the main social hub. The innkeeper can deliver rumors, side quests, and faction introductions.

The Tidewright Dockyard

A reef-protected yard where a retired shipwright and her apprentices repair hulls, reinforce prows, and install hidden compartments. The dockyard has a crane, drydocks, tar pits, and racks of salvage from star-struck wrecks. The shipwright is one of the few locals willing to outfit a small party for dangerous island work, but she wants favors, not just coin.

Additional Notes

Good place for ship upgrades, downtime projects, and clues about sea hazards.

Lantern Cape Observatory

An old cliff observatory built by astronomer-monks long before the archipelago was mapped. Its brass lenses can track star-metal glow at night, making it invaluable for finding shards after storms or sabotage. Unfortunately, rival agents have also noticed its value. The observatory’s charts reveal patterns suggesting the shards are resonating toward a central point.

Additional Notes

Connects early clues to the campaign’s larger mystery.

The Outer Ring Isles

The Outer Ring is the campaign’s second region: a broad sweep of medium-distance islands where the first open conflict over shards begins. Unlike the Near Shoals, these islands are not just hazards but communities. There are fishing villages, monastery ruins, tidal fortresses, volcanic coves, and jungle ridges overlooking hidden anchorages. Several islands have already been occupied by scouts or envoys from rival kingdoms, making every landing a diplomatic incident or a covert operation.

This region is where the campaign’s negotiation layer becomes most important. A shard may be guarded by a local clan that wants protection, by a kingdom’s expedition that wants legitimacy, or by something ancient that cannot be threatened into surrender. The party will need to decide whether to earn access, steal the shard, or play factions against each other. Sea battles become more frequent here, and the rival kingdoms begin sending named commanders rather than anonymous soldiers.

The Outer Ring also contains the first major evidence that the starfall was not random. Each shard recovered from these islands reacts to the others, creating visions of a central place deep within the archipelago. The party should feel like they are racing a moving target: every alliance, sunk ship, and stolen chart changes what comes next. The region is built for moral compromise, betrayal, and dramatic reversals.

Secrets

  • The monastery bell pattern is a code that opens the central starfall approach if sounded in the correct sequence.
  • One rival lieutenant is using the anchorage to conduct secret talks with pirates.
  • The Glass Reef was formed when a shard fell into the sea and shattered a living barrier beneath the waves.

Key Locations

The Broken Monastery of Seven Bells

A ruin on a cliff island where bronze bells still ring in storm winds despite the monastery being abandoned for decades. Monks once used the bells to track star positions, and now the tower contains a shard sealed behind warded doors. The ruins are haunted by echoing prayers, hidden passages, and dangerous access paths along the cliff face.

Additional Notes

A vertical dungeon site with a strong sensory identity and a natural place for guardians.

Thornscale Anchorage

A jungle cove serving as a covert harbor for privateers, deserters, and spies. Hidden piers vanish at high tide, and rope bridges connect tree platforms used for lookout and negotiation. The anchorage changes hands often, so any visit here may require a parley, a bribe, or a skirmish before the party can dock.

Additional Notes

Great place for faction meetings, ship repairs, and ambushes.

The Glass Reef

A dangerous coral shelf that turns moonlight into needle-bright flashes. Starfall energy has hardened parts of the reef into translucent blades. The surrounding waters are treacherous, but the reef conceals wrecks, smugglers’ caches, and one of the campaign’s most valuable shard locations.

Additional Notes

Use this for ship hazards and underwater or boarding encounters.

The Inner Starfall Sea

The Inner Starfall Sea is the campaign’s final region: a strange, nearly enclosed basin at the center of the hundred isles where night skies seem brighter than the horizon should allow. Meteoric fragments, luminous currents, and unnatural weather patterns make navigation difficult and visually unforgettable. The biggest islands here are not settlements but thresholds: obsidian ridges, flood-lit ruins, and the drifting remains of ancient structures welded together by star-metal and salt.

By the time the party reaches this region, the rival kingdoms are no longer merely competing. They are choosing whether to ally, retreat, or unleash catastrophic force to deny victory to the others. The final approach is watched by sea beasts, star-touched guardians, and Aurex’s agents. All shard lore converges here, and the party must decide who gets access to the wish, if anyone.

The last islands are where the wish itself becomes a threat. Star energy bends memory, compulsion, and gravity in subtle ways. The closer the party gets to the final forge, the more the environment responds like a living mechanism. This region should feel mythic, perilous, and politically explosive: a place where the consequences of every earlier alliance and betrayal become unavoidable.

Secrets

  • Aurex does not need every shard; he needs the resonance pattern created when enough shards are gathered in one place.
  • The wish forge can be redirected, but doing so requires exposing the party to the core starfire.
  • One rival kingdom intends to use the wish to erase all records of the archipelago, not to rule it.

Key Locations

The Crater of Quiet Waves

The final destination: a vast impact basin where the original star struck the sea and plunged partway into the earth. Its waters are calm at the center, but the ring around it churns with magical currents and ship-breaking winds. The crater floor contains ancient machinery, shard sockets, and the forge mechanism that can focus the wish.

Additional Notes

This is the final dungeon and the campaign climax.

The Driftforge Bastion

A fortress of fused stone and star-metal hovering low over the basin, maintained by ancient levitation sigils and chained anchors. It serves as Aurex’s base, prison, and command bridge. The bastion contains laboratories, a command hall, and a chamber where collected shards are aligned to amplify one final ritual.

Additional Notes

Use as the BBEG’s lair and the main final assault location.

The Moonless Pilots’ Shrine

A hidden shrine on a black cliff where old navigators once prayed before sailing the Inner Starfall Sea. It is now a place of truce, betrayal, or last-minute bargaining between factions. The shrine contains charts that explain the safest route into the crater during the final storm.

Additional Notes

A perfect negotiation scene before the final act begins.

NPCs in Port Haven and the Near Shoals

Captain Nera Glasswake

Open Character Sheet

A one-eyed privateer captain with a silver net of scars on her hands and a knack for finding ships where they should not be. She sells information to the highest bidder, but not always the same bidder twice.

Role: Merchant, smuggler contact, optional ally

Other Details: Can provide a fast sloop, black-market supplies, or a betrayal depending on how she is treated.

Harbor-Master Elian Voss

Open Character Sheet

A calm, exhausted official who keeps Port Haven from collapsing into chaos. He speaks in precise legal language, remembers every debt, and quietly fears the rival kingdoms will turn the harbor into a battleground.

Role: Quest giver and political broker

Other Details: Offers official letters of passage and warns the party about legal consequences for starting open war in the harbor.

Sister Maelin Tidebound

Open Character Sheet

A priest-explorer who believes the starfall is a divine test rather than a curse. She helps the injured, studies shard effects, and insists the wish should never be used casually.

Role: Healer and lore expert

Other Details: Knows rituals that can calm shard radiance and identify star-corruption.

NPCs in The Outer Ring Isles

Bosun Rell Harker

Open Character Sheet

A scarred ship commander who believes victory belongs to whoever can keep their crew alive longest. He favors boarding actions, false flags, and practical intimidation over grand strategy.

Role: Rival naval antagonist

Other Details: Leads sea engagements and can be negotiated with through displays of force or leverage.

Dame Seris Vale

Open Character Sheet

A disciplined royal negotiator from one of the rival kingdoms. She is courteous, cold, and determined to win the shard race without open slaughter if possible. She respects competence and hates improvisation unless it is hers.

Role: Rival diplomat and recurring pressure NPC

Other Details: Can become a temporary ally if the party helps her stop a greater threat.

Old Tamma Reed

Open Character Sheet

A fisher-historian who remembers which islands flood, which reefs bite, and which ruins lie. She speaks in fragments, but her memory is better than any chart. She wants the archipelago preserved, not conquered.

Role: Local guide and lore keeper

Other Details: Can reveal hidden island routes and ancient taboos.

NPCs in The Inner Starfall Sea

Aurex the Comet-Crowned

Open Character Sheet

A charismatic sorcerer-lord in star-metal regalia who speaks like a visionary and fights like a patient executioner. He believes the archipelago’s future requires one will strong enough to impose order.

Role: Central antagonist

Other Details: He manipulates rival kingdoms by feeding them different prophecies and false routes.

Marshal Othren Pike

Open Character Sheet

A hard-bitten commander sent by one rival kingdom to secure the final approach. He would rather forge a temporary alliance than lose everything to Aurex, but he will not tolerate humiliation.

Role: Late-campaign rival commander

Other Details: Can become a tense ally during the final siege.

The Tide Oracle

Open Character Sheet

An ageless, sea-warped prophet who speaks in tide marks and mirrored phrases. They know the shape of the final wish but not its cost.

Role: Cryptic guide

Other Details: Can reveal the final choice options if approached respectfully.

Factions

The Azure Crown Consortium

A disciplined maritime kingdom backed by diplomats, chartmasters, and a formidable navy. They argue that the shards must be centralized under lawful authority to prevent chaos. Their methods are polished, but their patience is thin when their claims are challenged.

They prefer treaties, escorts, and controlled force. When diplomacy fails, they bring overwhelming naval discipline and legal proclamations backed by cannons.

Goals

- Secure star shards for state control
- Establish exclusive navigation rights
- Prevent rivals from using the wish first

Relationships

With Other Factions
- Openly hostile to the Iron Wake League
- Tense, pragmatic dealings with local islanders
- Secretly suspects Aurex is manipulating all sides
With Players
Initially formal and cautious. They will support the party if the heroes prove reliable, but they will also try to bind the party with oaths and conditions.

The Iron Wake League

A coalition of rival crown interests, privateers, and frontier captains united by the belief that the sea belongs to the bold. They are less interested in law than leverage and more likely to start a boarding action than a debate. Many of their captains are honorable; many more are not.

They value speed, audacity, and practical victory. Their support can be invaluable, but their promises are often written in salt and smoke.

Goals

- Capture shard sites before the Azure Crown Consortium
- Recruit islanders and defectors
- Use the wish to reshape trade and naval dominance

Relationships

With Other Factions
- Openly hostile to the Azure Crown Consortium
- Will deal with smugglers and pirates if useful
- Willing to cooperate with the party against Aurex
With Players
Potential allies, rivals, or employers. They respect bold action and hate hesitation.

Main Questline

Chart the Starfall Route

The party must secure a working route into the Near Shoals, identify the first shard sites, and determine which rival kingdom is already operating in the archipelago. This quest establishes the race, introduces the factions, and puts the first shard within reach.

Goals

- Leave Port Haven
- Recover or verify the first shard
- Learn the identity of the major rivals

Reward

- 200 gp in supplies
- A small sailing vessel or crew contract
- The first star shard

Secrets

  • The shard locations form a pattern rather than a scatter.
  • Aurex’s agents are already altering coastal charts.

DM Notes

Start with social pressure, then move quickly into a short island expedition.

Break the Rival Claim

Given by: Dame Seris Vale
The party is forced into a choice between diplomacy and force when a rival expedition stakes a legal claim to a shard site. They can uphold the claim, expose fraud, or seize the shard before it is shipped away. The outcome affects future alliances, naval encounters, and access to safe harbors.

Goals

- Investigate the claim
- Choose diplomatic or martial resolution
- Secure the shard

Reward

- 1 uncommon or rare magic item
- Access to one faction’s support network
- Improved standing with one rival or local group

Secrets

  • The legal claim is based on forged testimony.
  • Aurex arranged the claim to split the rivals’ attention.

DM Notes

This quest should produce at least one negotiation scene and one encounter.

Reach the Wish Forge

Given by: The Tide Oracle
As the party gathers shards, they learn the center of the archipelago is a functioning wish forge buried under the starfall crater. They must gather enough shards, survive the final sea approach, and stop Aurex from aligning the resonance before he can seize control of the wish.

Goals

- Travel to the Inner Starfall Sea
- Prevent Aurex’s ritual
- Decide the wish’s outcome

Reward

- The campaign’s final choice
- One legendary reward or alliance boon
- The end-state of the archipelago

Secrets

  • The forge can be used only once before it destabilizes.
  • The party may redirect the wish by sacrificing their gathered resonance.

DM Notes

The climax should let the party choose between power, mercy, and political consequence.

Side Quests in Port Haven and the Near Shoals

Clear the Reef Beacon

A reef beacon guiding ships into Port Haven has gone dark. Without it, the harbor will suffer shipwrecks and convoy losses. The party must sail to the beacon rock, clear out scavengers or sea predators nesting there, and relight the signal before a storm front arrives. The beacon also guards a hidden compartment containing an old shard ledger that names the first expeditions to the isles.

Goals

- Restore the beacon
- Recover the hidden ledger
- Return before the storm breaks

Reward

- 150 gp
- Advantage on the first Port Haven resupply check
- The shard ledger clue

Secrets

  • The scavengers were paid by a rival kingdom.
  • The hidden ledger mentions a shard-shaped constellation mirrored in the observatory lenses.

DM Notes

A good early pressure mission that introduces sea travel and rival interference.

Escort the Astronomer

Sister Maelin needs a guarded trip to Lantern Cape Observatory to compare star charts before an enemy spy steals them. The route crosses a crowded marketplace, cliff paths, and a suspicious fishermen’s quarter. The mission can be resolved through stealth, bargaining, or a tense public escort through hostile eyes. Success reveals the likely location of two more shards and a warning about resonance effects.

Goals

- Deliver Maelin safely
- Compare charts
- Identify the next shard routes

Reward

- 1 uncommon magic item from the observatory vault
- A route clue to two island shards
- Maelin’s future aid

Secrets

  • The charts show that the shards are not scattered randomly; they form a ring around a central crater.
  • A spy is embedded in the observatory staff.

DM Notes

Ideal if the party prefers intrigue before the campaign shifts toward open war.

The Smuggler's Promise

Nera offers a risky bargain: recover a stolen cargo chest from a reef cave and she will reveal which kingdom funded the first shard hunters. The chest is trapped, difficult to transport, and guarded by desperate thieves who are not fully loyal to any nation. The party may instead choose to bargain with the thieves or turn the cargo over to Harbor-Master Voss for a public scandal.

Goals

- Recover or expose the cargo
- Choose who receives the chest
- Gain passage benefits

Reward

- 100 gp or equivalent in gear
- A smuggler’s pass to bypass one naval checkpoint
- Faction leverage with Nera

Secrets

  • The cargo contains uniforms and false orders linking a kingdom to a false-flag attack.
  • Nera already knows the chest’s contents and is testing the party.

DM Notes

This quest can change faction relationships and create later consequences.

Side Quests in The Outer Ring Isles

The Bellkeeper's Bargain

Given by: Old Tamma Reed
Tamma asks the party to reactivate the monastery bells long enough to signal a hidden tide route before the next storm. In return, she will reveal a safe passage through the Glass Reef. The task involves repairing mechanism shafts, surviving bell guardian constructs, and deciding whether to sound the warning in a way that also alerts rival ships. The outcome can aid or hinder future stealth and travel.

Goals

- Restore the bells
- Secure the tide route
- Decide whether to reveal the signal publicly

Reward

- Safe passage route through the Glass Reef
- 1 potion of healing each
- A clue to the central crater

Secrets

  • The bell code doubles as a warning against the sleeping thing below the archipelago.
  • A rival agent is already waiting at the monastery bell tower.

DM Notes

This quest should feel like a practical coastal puzzle with real strategic consequences.

Privateer’s Debt

Nera wants the party to settle one of her debts by escorting a defecting privateer family to safety. The family is hiding on a contested island and both kingdoms want them because they know where a shard convoy is headed. The party can choose to honor the escort, sell the family out, or trade them to one faction for access. Whatever choice they make affects later naval support.

Goals

- Find the defectors
- Decide their fate
- Escape with the chosen faction’s favor

Reward

- Nera’s black market discounts
- A hidden berth at Thornscale Anchorage
- 1 rare consumable from Nera’s vault

Secrets

  • The defectors know a commander’s secret route.
  • The family has a shard tattoo map hidden on their sailcloth.

DM Notes

A morally gray mission that strengthens the campaign’s political tone.

Side Quests in The Inner Starfall Sea

The Last Truce

Given by: The Tide Oracle
The oracle offers the party a chance to broker a temporary ceasefire between rival kingdoms at the Moonless Pilots’ Shrine. If the party can bring both commanders to the shrine and keep negotiations from collapsing, they gain aid during the final assault. Failure means every faction enters the climax separately, increasing pressure. The truce is difficult because each side fears betrayal more than defeat.

Goals

- Convince both sides to attend
- Keep the truce from breaking
- Secure one active ally

Reward

- One allied ship during the final act
- A ceasefire token usable in parley scenes
- 1 legendary-tier clue about the wish forge

Secrets

  • The oracle knows how to break the resonance pattern.
  • The shrine was built on top of an older seal guarding the crater.

DM Notes

This is a high-impact diplomatic mission with combat as a possible backup.

Encounters

Reef Beacon Ambush

Suggested Level: 4-5

Scavengers and hired blades attack the party while they relight a dark reef beacon and recover a hidden shard ledger.

Creatures

Terrain Features

- Slick lighthouse steps
- Waist-high tidal pools
- Half-collapsed signal brazier
- Narrow ledges over surf

Treasure

Hidden ledger, 50 gp in salvage, 2 potions of healing

DM Notes

Good early combat with movement pressure and a clear objective.

Monastery Bell Vault

Suggested Level: 4-6

The party explores a cliff monastery to recover a shard while defending against ward guardians and rivals climbing below.

Creatures

Terrain Features

- Vertical cliff paths
- Hanging bell ropes
- Narrow chapel walkways
- Falling stones from cracked buttresses

Treasure

1 uncommon magic item, star shard clue, reliquary coins

DM Notes

Treat cultists as relic keepers, not evil cultists if you want a less sinister tone.

Thornscale Negotiation Gone Wrong

Suggested Level: 5-7

A tense parley at a jungle anchorage collapses when an assassin or sabotage attempt forces everyone to draw steel.

Creatures

Terrain Features

- Rope bridges between tree platforms
- Crates, tarps, and cover
- Narrow dock planks over black water

Treasure

Faction favor, coded route token, 75 gp

DM Notes

Can be resolved socially if the party exposes the assassin before combat begins.

Glass Reef Boarding Action

Suggested Level: 5-6

A rival cutter tries to ram or board the party among glass-like coral shelves and shallow hazardous water.

Creatures

Terrain Features

- Shallow reef with boat-grounding hazards
- Coral blades that count as difficult terrain
- Boarding planks and rigging
- Clear sightlines across moonlit water

Treasure

Rival orders, 120 gp, navigation chart to the Outer Ring

DM Notes

For 2 PCs, reduce bandits to 2 if needed and give the captain a morale break point.

Storm-Sailed Skirmish

Suggested Level: 6-8

The party’s ship is caught in a sudden storm while a rival vessel closes for ranged attacks and boarding.

Creatures

Terrain Features

- Rain-slick deck
- Crashing waves
- Loose cargo and mast rigging
- Lightning strikes creating temporary bright zones

Treasure

Enemy captain’s signet, 200 gp, repair materials

DM Notes

Use environmental damage and ship control checks to make the scene feel distinct.

Driftforge Inner Sanctum

Suggested Level: 9-10

The final assault reaches Aurex’s aligned shard chamber where star magic, guardians, and rival forces collide.

Creatures

Terrain Features

- Floating metal walkways
- Resonant shard pylons
- Arcane hazard zones
- Open drops into the crater below

Treasure

Legendary shard focus, wish forge control key, final lore cache

DM Notes

Aurex should have terrain advantages and reinforcements unless the party secured allies earlier.
Magic Items

Compass of Returning Tides Compass of Returning Tides Completed

Compass of Returning Tides

Uncommon
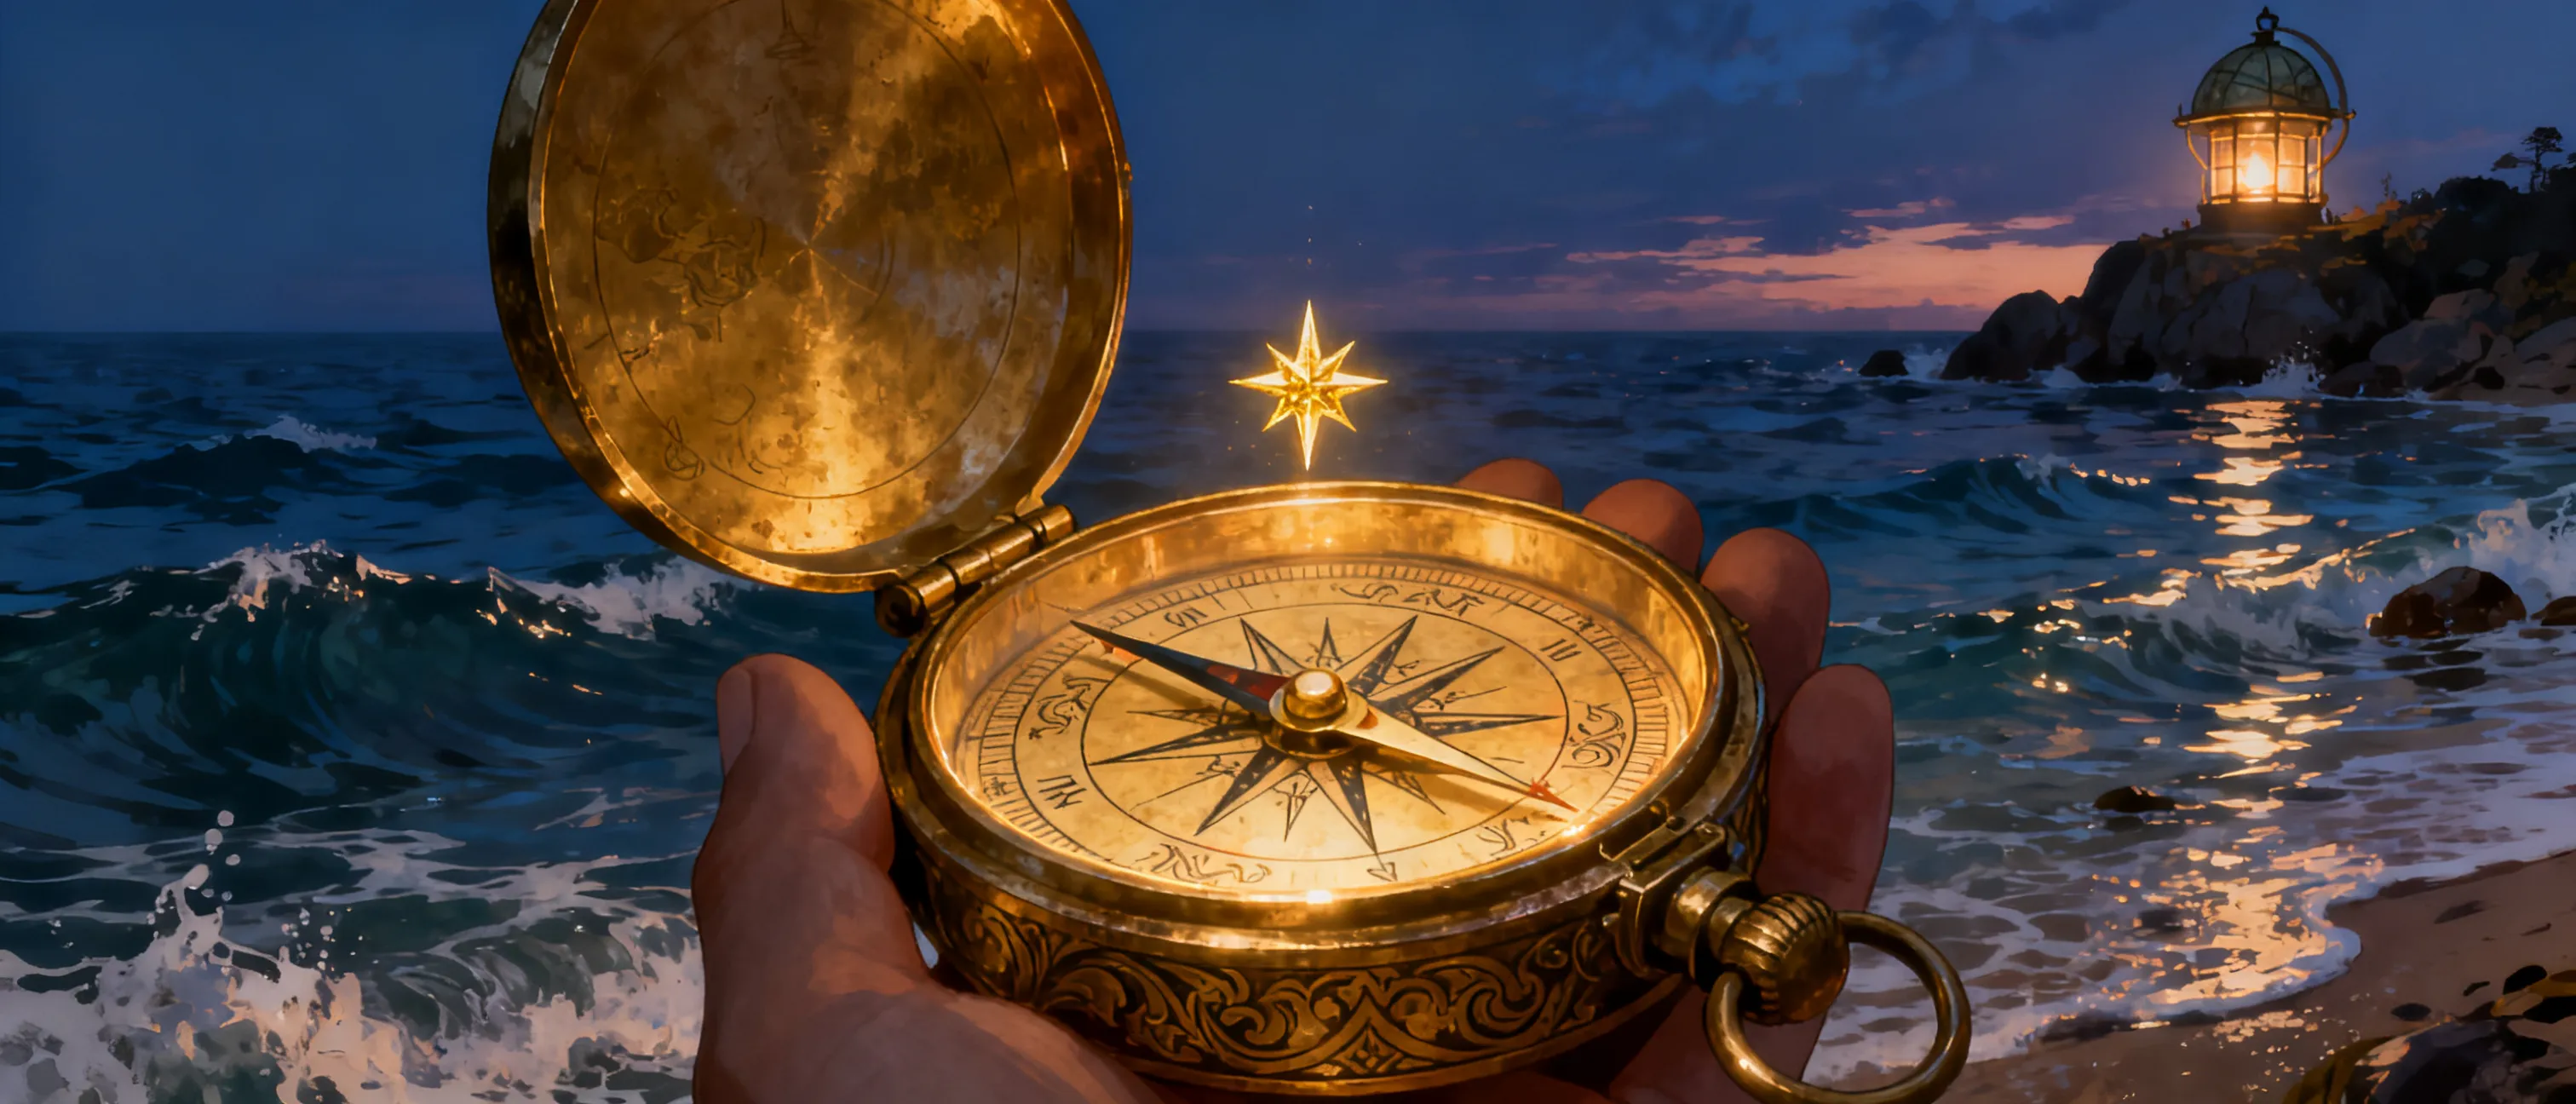
This brass compass points toward the nearest undiscovered star shard once per day, but only after dusk and only if held over seawater.

Location

Act I - Lantern Cape Observatory vault

Attunement

False

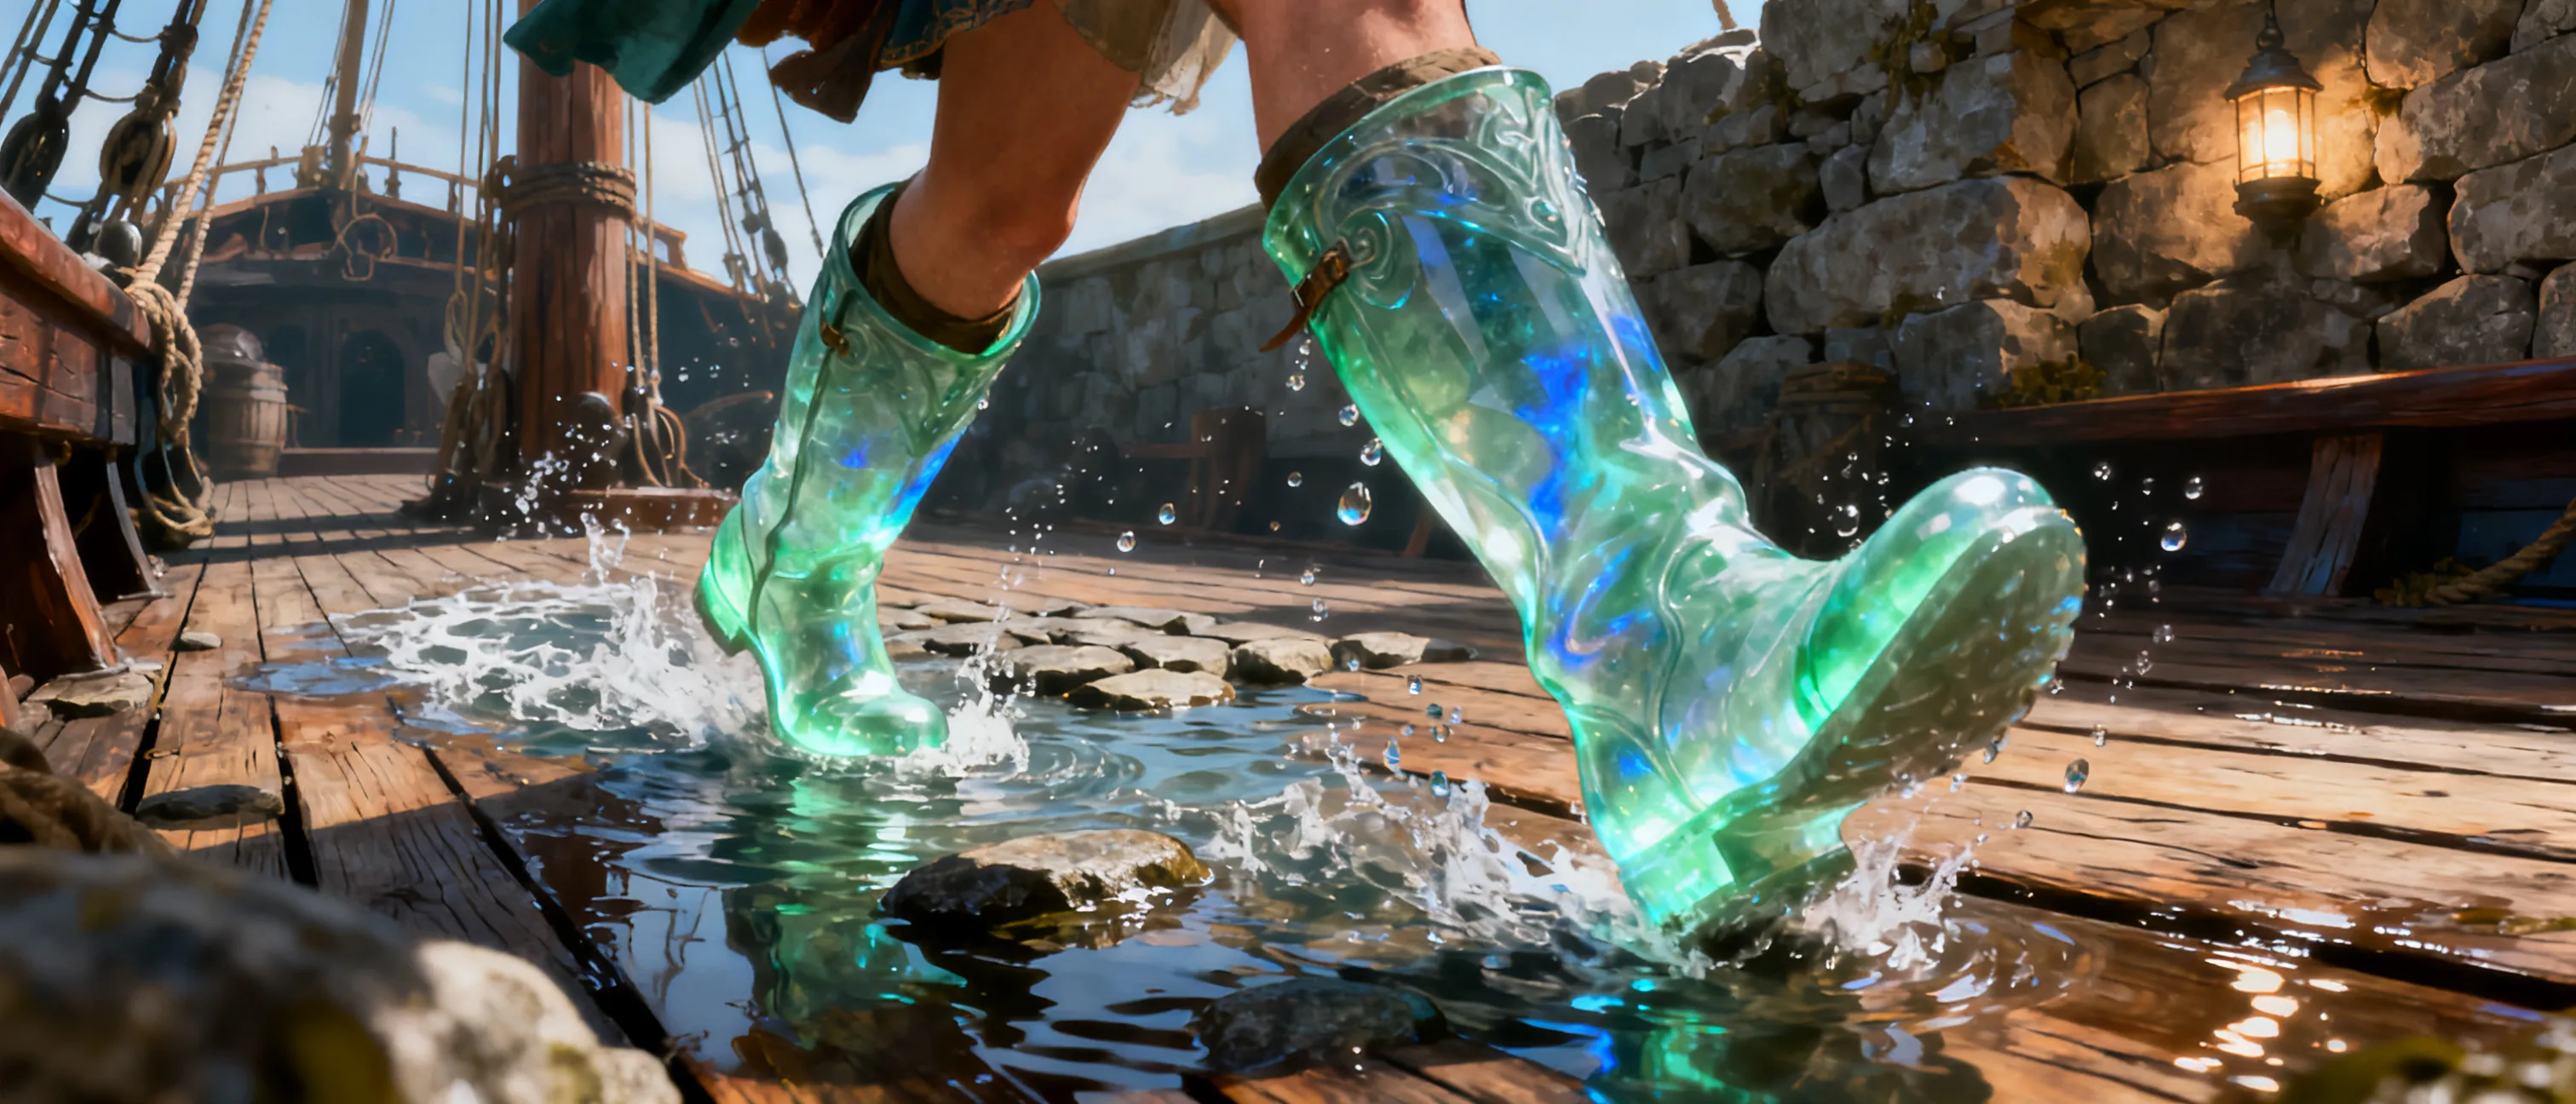
Lanternglass Boots Lanternglass Boots Completed

Lanternglass Boots

Uncommon
These sea-green boots let you ignore nonmagical difficult terrain caused by shallow water, wet stone, or ship decks while moving at normal speed.

Location

Act I - reef beacon cellar

Attunement

False

Shard-Sung Knife Shard-Sung Knife Completed

Shard-Sung Knife

Uncommon
A thin silver knife that glows faintly near starfall relics. Once per long rest it can cast acid splash as a spell save DC 13.

Location

Act I - Broken Monastery reliquary

Attunement

True; requires attunement by a creature proficient with simple weapons

Cape of Saltwind Cape of Saltwind Completed

Cape of Saltwind

Uncommon
This heavy blue cloak grants advantage on checks to resist being shoved, pulled, or knocked prone while on a ship or cliffside.

Location

Act II - Thornscale Anchorage trade tent

Attunement

False

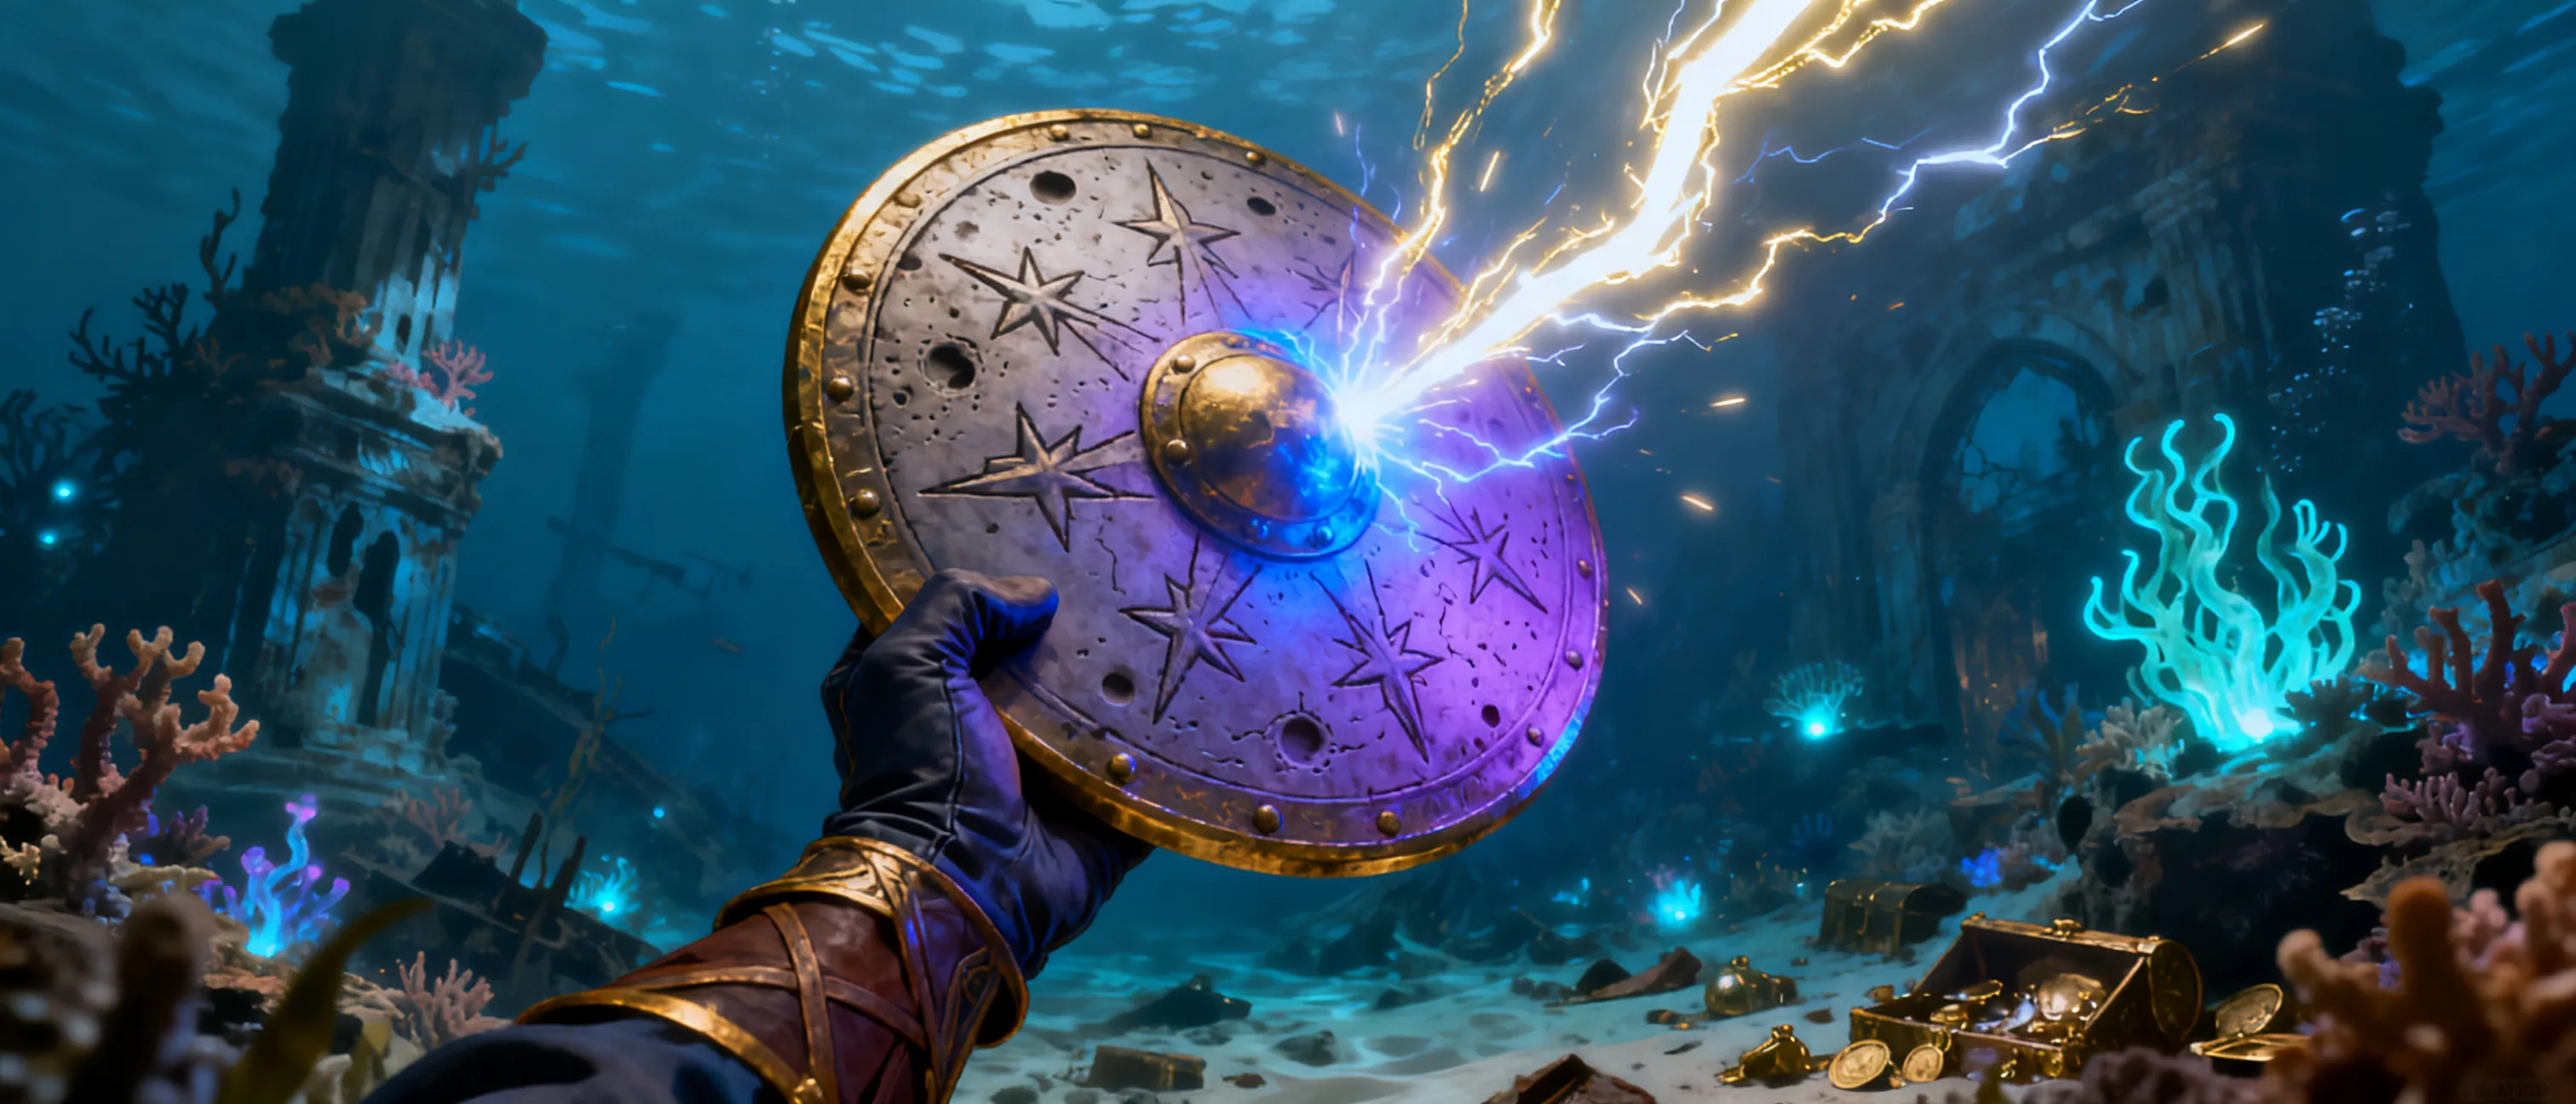
Starforged Buckler Starforged Buckler Completed

Starforged Buckler

Rare
A round shield etched with a faint crater map. While attuned, it can absorb one instance of radiant or lightning damage per day.

Location

Act II - Glass Reef wreck vault

Attunement

True

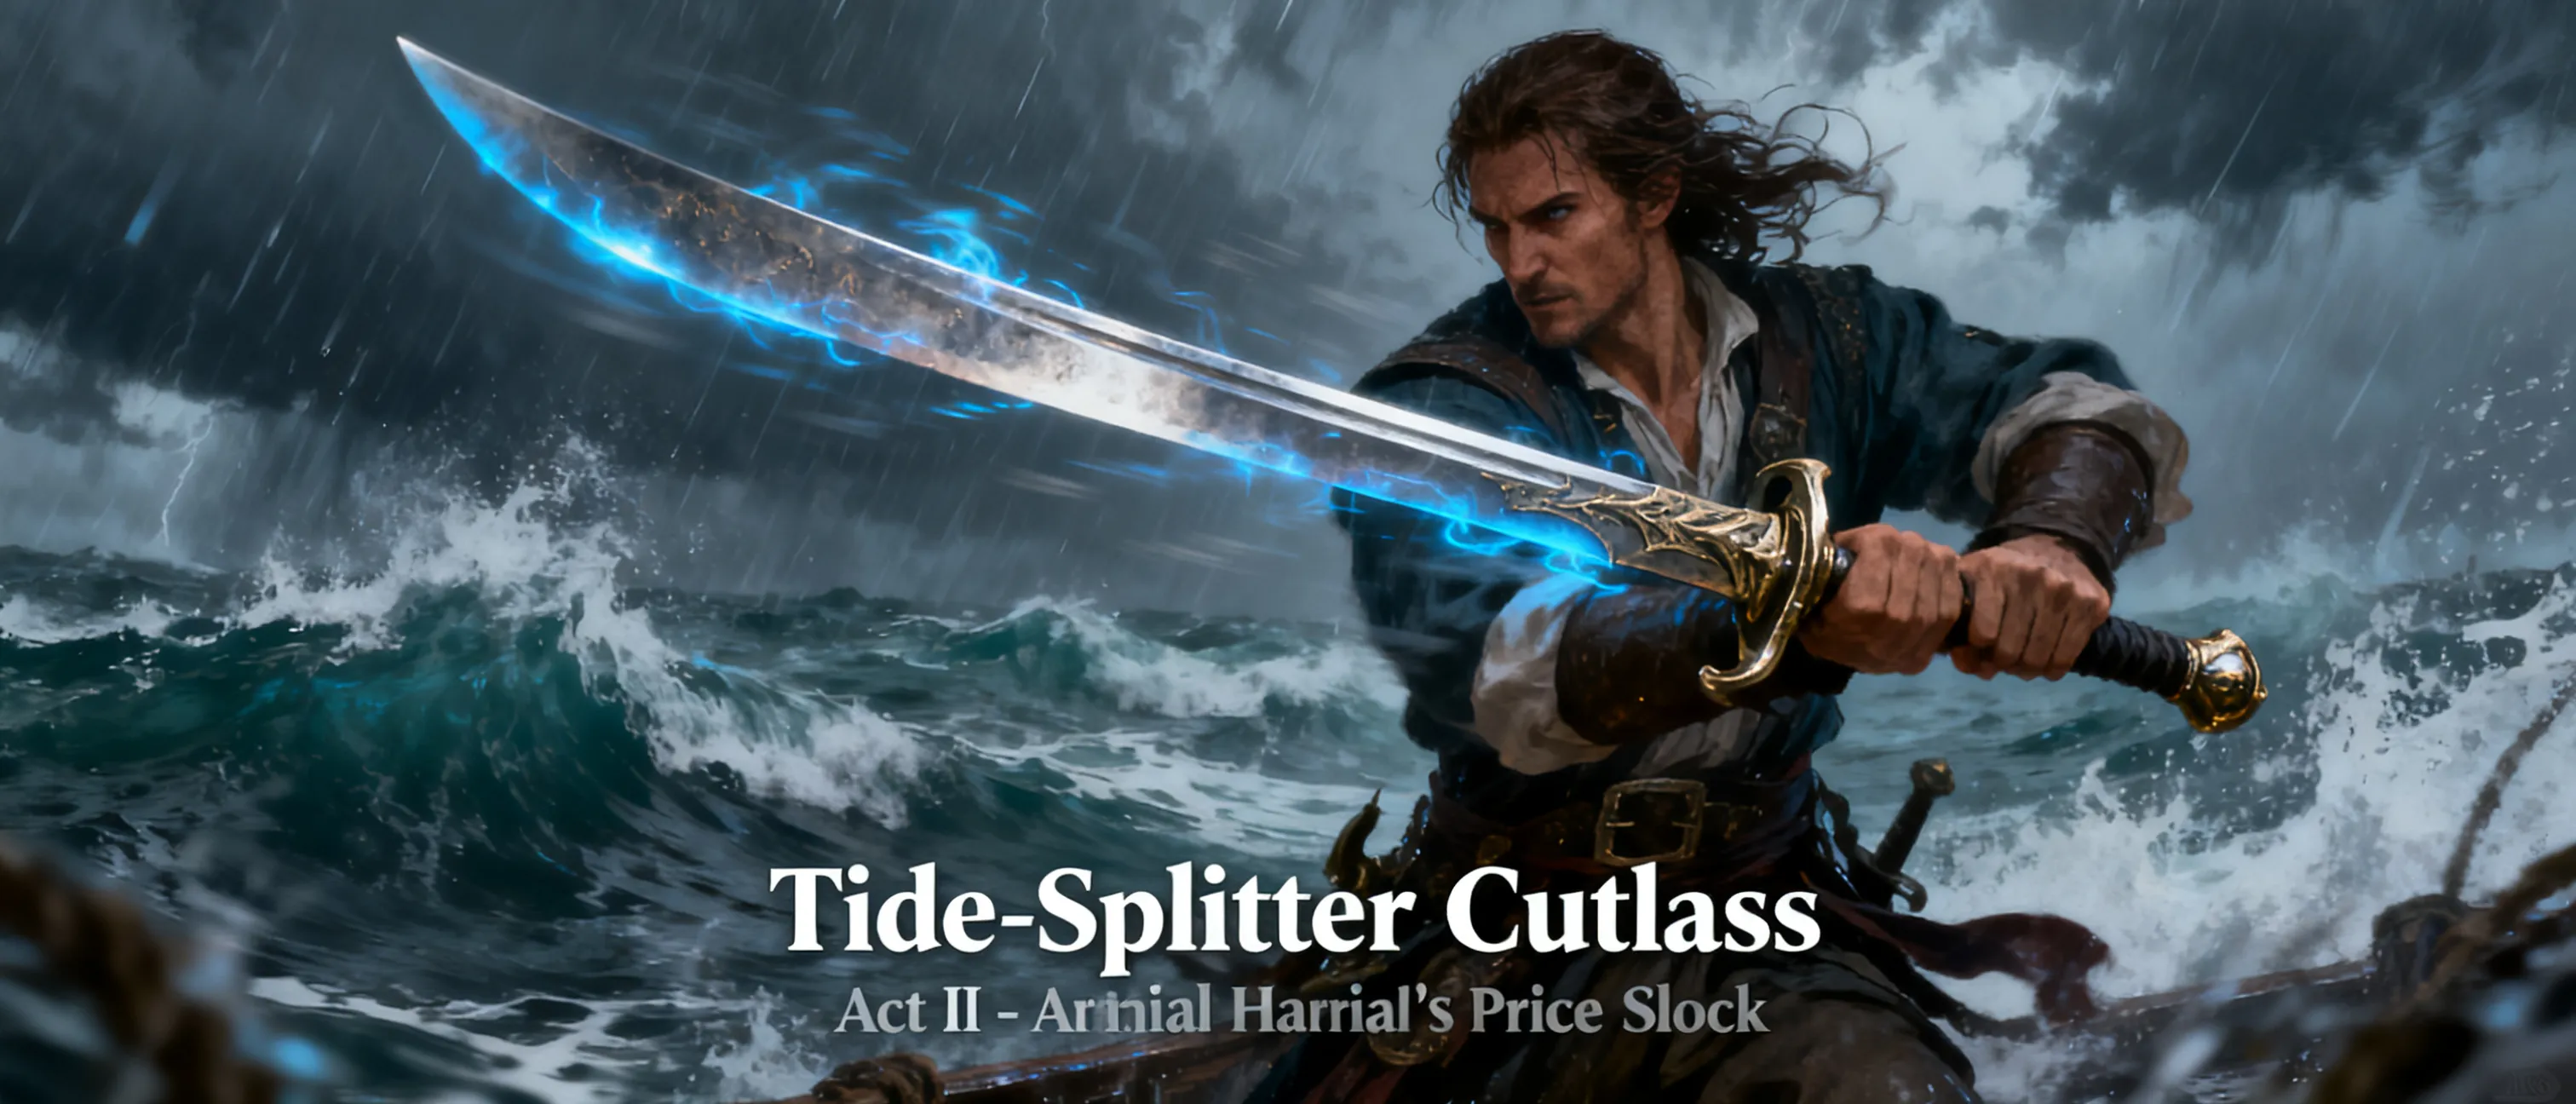
Tide-Splitter Cutlass Tide-Splitter Cutlass Completed

Tide-Splitter Cutlass

Rare
A balanced blade that hums during storms. It gains a +1 bonus to attack and damage rolls, and once per short rest can deal extra force damage to a creature you hit on a ship deck.

Location

Act II - rival admiral’s prize locker

Attunement

True

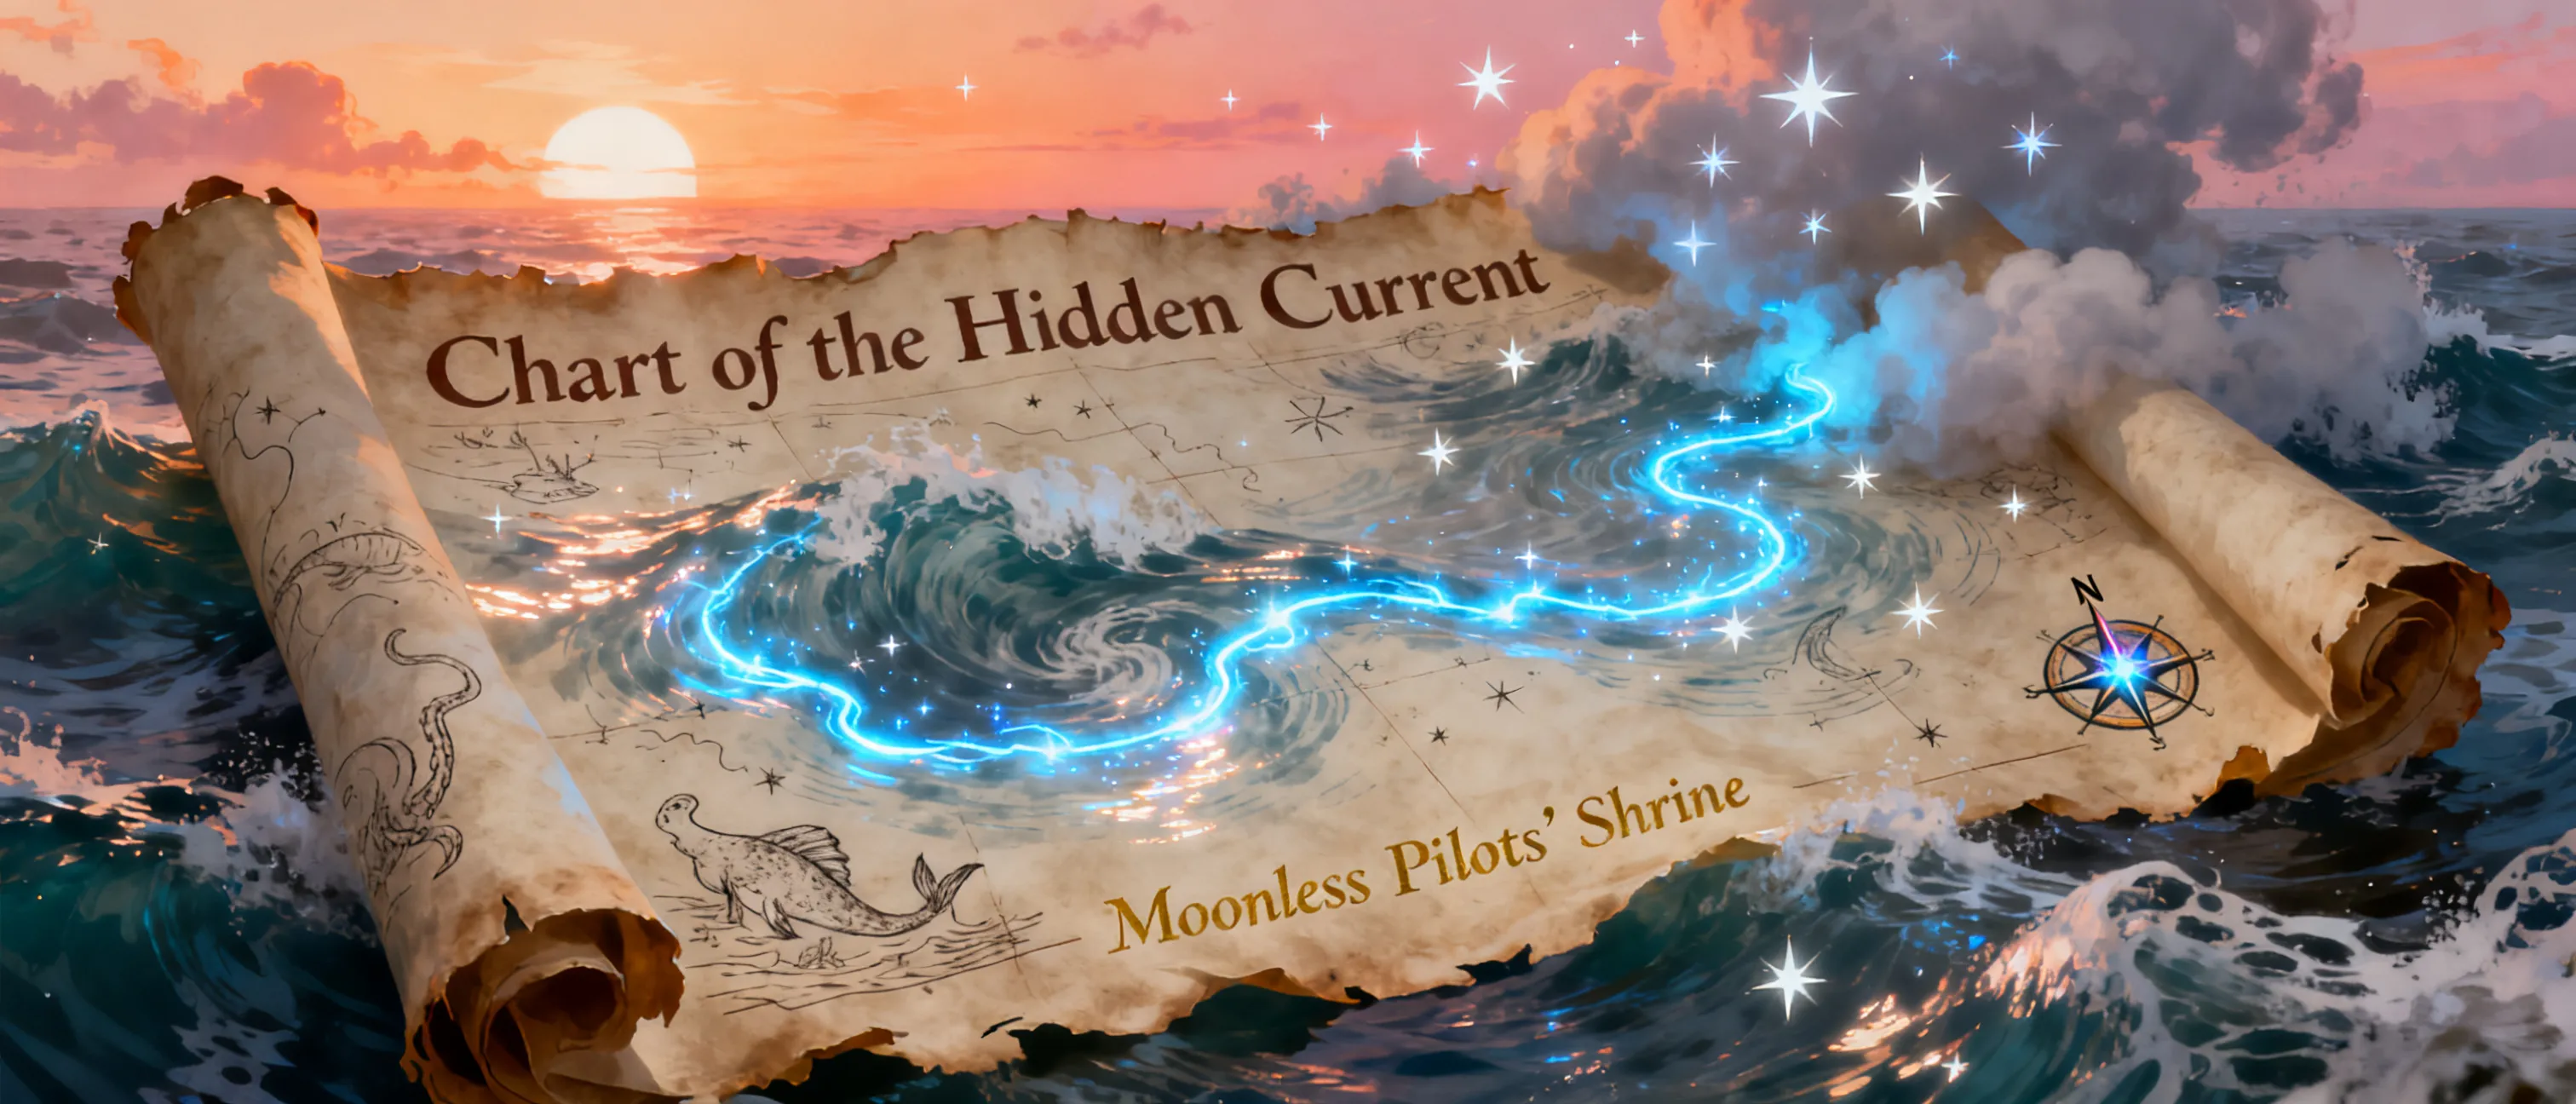
Chart of the Hidden Current Chart of the Hidden Current Completed

Chart of the Hidden Current

Rare
This water-resistant chart reveals one safe route through the Inner Starfall Sea each dawn, changing the route if the stars are obscured.

Location

Act II - Moonless Pilots’ Shrine

Attunement

False

Crownstone Lantern Crownstone Lantern Completed

Crownstone Lantern

Very Rare
A lantern fueled by star fragments that reveals invisible runes, secret doors, and illusion magic in a 20-foot radius while lit.

Location

Act III - Driftforge Bastion archive

Attunement

False

Wishbound Signet Wishbound Signet Completed

Wishbound Signet

Very Rare
A star-metal signet that lets the wearer reroll one failed Charisma check per day when negotiating with a faction over the shards.

Location

Act III - Crater of Quiet Waves ritual dais

Attunement

True

Player Characters

You need to register to create and view player characters in this campaign.

Register Now