Hook 01
The Council's Coin
Elder Maren offers the village council's pooled reward of 200 gold pieces to anyone who ends the curse of Ravenmoor. Greedy or desperate adventurers sign on — but the dead don't rest, and the castle's master is waiting.
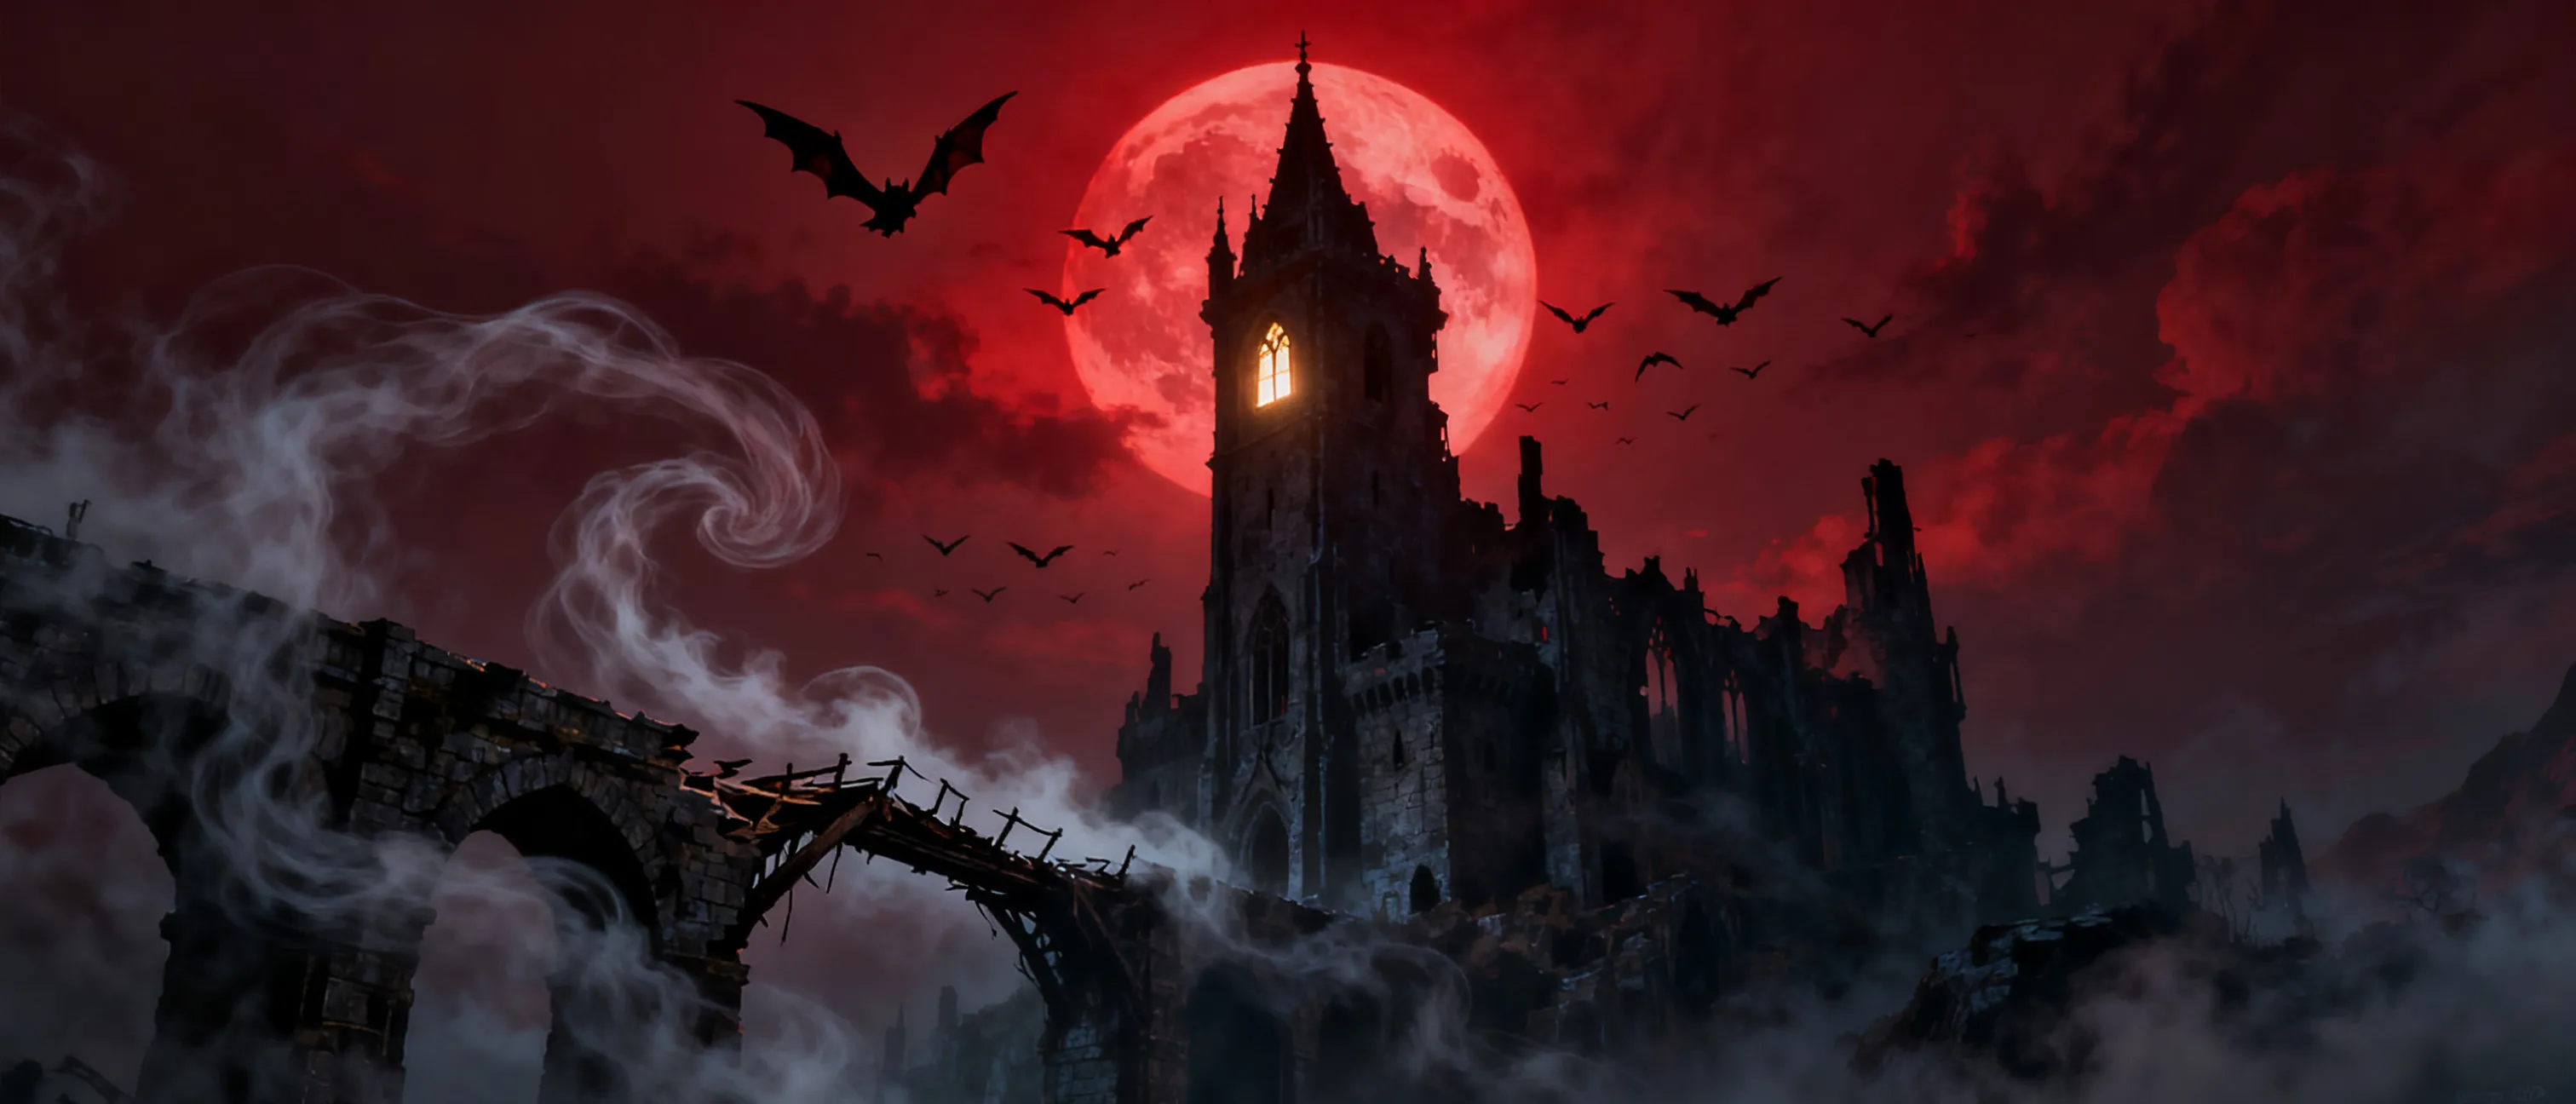
The adventure ahead
This campaign will be deleted in 6 days. Create a free account to claim all your generated content.
A classic horror adventure for level 2 adventurers. The village of Ravenmoor lies under a creeping curse: villagers vanish on moonless nights, and the dead do not rest. The source is a vampire who has claimed the ruined castle above the valley. The party must cross the haunted wilds, breach the castle's defenses, and destroy the vampire before the village is bled dry. But this vampire is only a servant — destroying it reveals the first hints of a far greater darkness stirring in the world.
Share with your players
Ravenmoor was a quiet farming village until the nights grew long. First the livestock died, drained of blood. Then people began to vanish — the miller's daughter, two shepherds, the old priest. The village council has pooled a reward of 200 gold pieces for anyone brave or foolish enough to end the curse. The old folk whisper that the master of the ruined castle on the ridge has returned after a hundred years of silence.
You have each come to Ravenmoor for your own reasons — coin, vengeance, faith, or curiosity. Tonight, the moon is rising red, and the village elder has asked you to meet her at the shrine at dusk. This is a tale of gothic horror: creeping dread, ancient evil, and heroes with torches and courage against the dark.
Behind the screen
DM Overview: The vampire Lord Aldric Veyne is the central villain of Act I, a lesser vampire bound in service to an unseen master called only 'the Crimson Hierophant.' Aldric feeds on Ravenmoor to fuel a ritual that will open his master's path into the region. The party's journey takes them from the terrified village, through the mist-shrouded Barrowwood, to the castle gates and finally inside its chapel sanctum. Aldric should be played as cunning and theatrical: he offers bargains, uses wolves and servants as screens, and retreats to his coffin rather than fight to the death.
His character sheet is generated separately — do not substitute an SRD monster stat block for him. When destroyed (or driven to mist), the party finds correspondence bearing the Hierophant's seal: a wax stamp of a chalice dripping into an open eye, plus a map fragment pointing toward a distant city. This is the hook for the wider campaign. Progression: Act I spans levels 2–3, with the milestone awarded for defeating Aldric or forcing him to flee his castle.
Hook 01
Elder Maren offers the village council's pooled reward of 200 gold pieces to anyone who ends the curse of Ravenmoor. Greedy or desperate adventurers sign on — but the dead don't rest, and the castle's master is waiting.
Hook 02
A letter found in the miller's ransacked house speaks of a 'debt owed to my master.' Someone in the miller's family or a village contact hires the party to learn what debt could cost a man his life — and his soul.
The party arrives in the doomed village of Ravenmoor, learns the nature of the curse from terrified townsfolk, crosses the monster-haunted Barrowwood, breaches the castle's outer defenses, and confronts the vampire Lord Aldric Veyne in his chapel sanctum. Aldric's defeat reveals the first clue of a greater evil behind him.
Read aloud
The village of Ravenmoor huddles in the valley like a frightened animal. Doors are barred even at this hour, and garlic bundles hang from every lintel. At the center of town stands a weathered shrine to a god of light, its candles guttering in the evening wind. An old woman waits there, leaning on a cane, her face carved with grief. 'You came,' she says. 'Bless you, or curse you — I no longer know which.
I am Maren, elder of this village. The dead walk our graveyard, and something in the castle on the ridge drinks our blood. Help us, and you will have our gold and our gratitude. Fail, and there will be no one left to bury.'
Elder Maren answers questions honestly but knows only folklore: the castle's master is 'Lord Veyne,' returned after a century; he takes victims on moonless and blood-red nights; holy symbols seem to ward his wolves. She gives the party 3 vials of holy water from the shrine and the key to the village crypt. If the party asks about weaknesses, a successful DC 12 Intelligence (Religion) check or roleplaying with Maren recalls classic vampire lore: sunlight, running water, wooden stakes, and invitations.
A nervous young villager, Tam, offers to guide them to the Barrowwood edge for 5 gold. If the party lingers past midnight, run a brief scare: 2 Skeletons shamble out of the fog toward the shrine and must be driven off before the village panics.
Read aloud
The miller's house stands with its door torn from its hinges — not broken, but opened, as if something walked calmly inside. Inside, the furniture is untouched, but the smell of old copper hangs in the air. On the table sits a cold supper, set for two, though the miller lived alone. Beyond the house, the graveyard gate hangs open. Earth lies scattered beside several graves, and among the leaning headstones, pale shapes move in the fog, dragging their feet through the wet grass.
This is the investigation and first combat scene. In the graveyard, 4 Skeletons and 2 Zombies shamble among the graves (use exact SRD stat blocks). The mist grants them advantage on their first ambush unless the party succeeds on a DC 13 Wisdom (Perception) check to spot them first. In the miller's house, clues reveal the vampire's methods: two wine glasses (one with dried residue that a DC 12 Intelligence (Investigation) check identifies as blood), and a letter under the floorboard (DC 11 Wisdom (Perception) to notice the loose board) inviting the miller to the castle 'to discuss a debt owed to my master' — signed A.V., sealed with a chalice-and-eye sigil.
In the graveyard, one freshly dug grave is empty: Maren's son's grave. The crypt door (Maren's key opens it) contains a stone stair leading up into the hill toward the castle — the secret approach of Scene 4.
Read aloud
The Barrowwood earns its name from the ancient burial mounds that break through its roots like rotten teeth. Mist coils between the black trunks, and the red moon bleeds through the canopy. Somewhere ahead, a wolf howls — then another, then a dozen, a chorus that circles you in the fog. Through the trees, the castle rises: a broken silhouette of towers and shattered walls, its drawbridge down, its gate dark and open. Waiting.
The journey through the Barrowwood is a tense wilderness gauntlet. The vampire's wolf pack hunts the party: 4 Wolves attack in the mist, using pack tactics, striking from two directions. The mist gives the wolves advantage on their opening ambush unless the party posts a watch (DC 12 Wisdom (Perception) to hear the pack closing). If the party thinks to use Maren's holy water or holy symbols, the wolves recoil from consecrated items — reward creativity by making the wolves hesitate (disadvantage on their first attacks).
After the wolves, the party reaches the castle gate. The drawbridge is down but watched: 2 Goblins — deserters who now serve the castle for coin and safety — guard the gatehouse with a warning horn. The party can fight them (they flee if reduced below half strength), sneak past them (DC 13 Dexterity (Stealth) group check), or trick them (DC 12 Charisma (Deception) — the goblins are cowardly and superstitious). If the horn sounds, Lord Aldric is forewarned and prepares a warmer welcome in Scene 4: he greets the party personally and courteously, offering a 'negotiation' before violence.
Read aloud
The great hall of Ravenmoor Castle is a cavern of shadows. Torn banners hang from the walls, and a long table is set with rotting food and silver candelabra burning with candles that give off a faint red light. At the far end, a figure sits at the head of the table — pale, elegant, dressed in funeral black, with eyes like embers. 'Guests,' he says, smiling to reveal sharp teeth.
'How delightful. I am Lord Aldric Veyne, master of this house. Please — sit. Everything is about to be settled.' Behind him, a door of black iron leads down toward the chapel, and somewhere below, you hear the slow drip of water and something that might be breathing.
The climax. Lord Aldric Veyne is the central villain and uses his own character sheet (generated separately) — do not substitute an SRD stat block. He opens with words, not violence: he offers the party gold and safe passage to leave Ravenmoor and forget it, or even immortality if any character is tempted. He is genuinely charming and genuinely evil. Combat begins when the party refuses or attacks. Aldric fights with hit-and-run tactics: he uses the hall's shadows, retreats down the iron stair to the chapel, and calls his servants.
His forces: 1 Vampire Spawn (Maren's son, tragically — the party may realize what he is; if they learn it, Maren's holy water or an appeal to his memory grants a DC 15 Charisma check to make the spawn hesitate for 1 round) and 2 Skeletons in the chapel. The chapel contains Aldric's black coffin. If the party stakes him, drags him into moonlight, or destroys his coffin, he cannot retreat.
If reduced to 0 hit points without his coffin destroyed, he assumes gaseous form and flees to the coffin — the party must follow and finish him there. If the party was stealthy and never triggered the gatehouse horn, they may ambush him or catch him in his coffin (advantage on the first round). When Aldric is destroyed, his body crumbles to dust, leaving behind a sealed letter on the table: correspondence from 'the Crimson Hierophant,' instructing Aldric to prepare Ravenmoor as 'the first chalice' and bearing a map fragment pointing to the distant city of Duskhaven. This is the campaign's true hook.
Milestone: Defeat or permanently drive off Lord Aldric Veyne and recover the Crimson Hierophant's letter. Award enough experience or milestone advancement to bring the party to level 3.
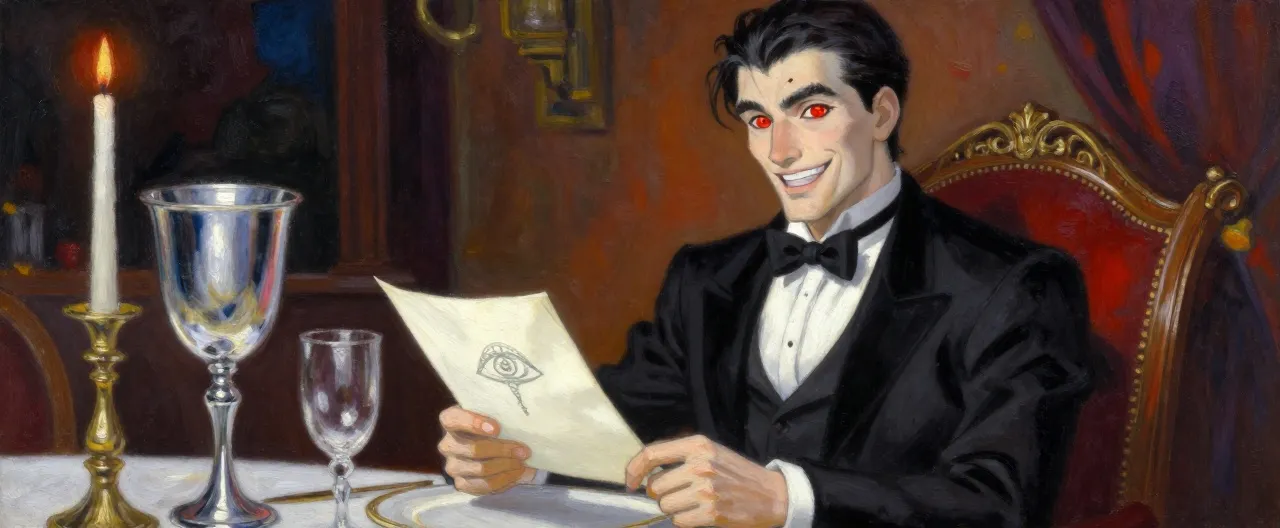 Lord Aldric Veyne
Lord Aldric Veyne is the master of Ravenmoor Castle, and he wants you to know it — he will tell you himself, twice, while pouring wine he c…
Free campaign generations include one villain sheet. Additional villain, NPC, and player-facing module character sheets are available in premium campaigns.
Subscribe NowFree campaign encounters use official monster sheets, plus the campaign villain character when referenced. They do not include generated custom monster sheets. Subscribe to create custom campaign monsters and enemy stat blocks.
Subscribe NowAldric feeds on Ravenmoor to fill the 'first chalice' for his unseen master's ritual. He serves out of ambition and fear in equal measure: he dreams of being elevated by the Hierophant, yet dreads the letters that arrive with the chalice-and-eye seal. He plays the gracious host because a willing victim is sweeter than a screaming one.
Cunning, theatrical, and genuinely charming. He offers bargains before violence, speaks in courteous host's pleasantries, and retreats rather than die for pride. He is a coward at heart — his elegance is a mask over terror of his master.
Aldric parleys first, offering gold and safe passage. In combat he uses shadows and pillars for cover, strikes and withdraws toward the chapel, and calls his Vampire Spawn and skeletons to screen his retreat. If reduced to 0 hit points with his coffin intact, he assumes gaseous form and flees to the coffin to regenerate — the party must pursue and stake him there.
When destroyed, Aldric crumbles to dust, leaving the Crimson Hierophant's sealed letter and a map fragment pointing to Duskhaven — the hook to the wider campaign. If he escapes as mist, he abandons the castle and flees toward Duskhaven as a recurring servant of the Hierophant.
Recommended party: 4-5 characters of mixed classes; a Cleric or Paladin is strongly recommended for turning undead and healing, but any party can succeed with preparation (holy water, fire, and sunlight are the party's greatest tools).
Discuss gothic horror content warnings (body horror, blood, loss of loved ones). Establish party reasons for coming to Ravenmoor: coin, faith, vengeance, or curiosity. Remind players that holy water, fire, and sunlight are their greatest tools, and that fleeing and returning prepared is a valid strategy.
For weaker parties, reduce the graveyard to 3 Skeletons and 1 Zombie and the Barrowwood pack to 3 Wolves. For stronger parties, add 2 more Skeletons to the chapel fight or have Aldric's parley fail immediately into combat.
Play Aldric as charming before lethal. Let the midnight skeleton scare at the shrine establish tone early. Reward creative use of holy water, garlic, invitations, and running water. The empty grave of Maren's son is the emotional core of the finale — reveal it slowly.
Discover intricate areas, locations, and points of interest that will bring your D&D world to life. Premium users get access to fully detailed locations including taverns, dungeons, cities, and more!
Level Up to Premium!Join the ranks of Dungeon Masters creating unforgettable adventures!
Lord Aldric Veyne
Lord Aldric Veyne is the master of Ravenmoor Castle, and he wants you to know it — he will tell you himself, twice, while pouring wine he c…
Free campaign generations include one villain sheet. Additional villain, NPC, and player-facing module character sheets are available in premium campaigns.
Subscribe NowFree campaign encounters use official monster sheets, plus the campaign villain character when referenced. They do not include generated custom monster sheets. Subscribe to create custom campaign monsters and enemy stat blocks.
Subscribe NowAldric feeds on Ravenmoor to fill the 'first chalice' for his unseen master's ritual. He serves out of ambition and fear in equal measure: he dreams of being elevated by the Hierophant, yet dreads the letters that arrive with the chalice-and-eye seal. He plays the gracious host because a willing victim is sweeter than a screaming one.
Cunning, theatrical, and genuinely charming. He offers bargains before violence, speaks in courteous host's pleasantries, and retreats rather than die for pride. He is a coward at heart — his elegance is a mask over terror of his master.
Aldric parleys first, offering gold and safe passage. In combat he uses shadows and pillars for cover, strikes and withdraws toward the chapel, and calls his Vampire Spawn and skeletons to screen his retreat. If reduced to 0 hit points with his coffin intact, he assumes gaseous form and flees to the coffin to regenerate — the party must pursue and stake him there.
When destroyed, Aldric crumbles to dust, leaving the Crimson Hierophant's sealed letter and a map fragment pointing to Duskhaven — the hook to the wider campaign. If he escapes as mist, he abandons the castle and flees toward Duskhaven as a recurring servant of the Hierophant.
Get access to detailed NPCs, faction relationships, and character backgrounds that will make your campaign truly memorable!
Unlock Premium Features!Create compelling characters and factions that your players will never forget!
Unlock detailed quest structures, branching storylines, and meaningful rewards that will keep your players engaged for months!
Start Your Epic Journey!Join DMs creating unforgettable adventures with our premium quest system!
Suggested Level: 2-3
Fog, guttering shrine candles, narrow village lanes.
3 vials of holy water from the shrine (if not already given).
A DC 11 Wisdom (Perception) check lets the party hear the skeletons coming 2 rounds early, allowing preparation or an ambush.
Suggested Level: 2-3
Open graves, low stone walls (half cover), thick fog lightly obscuring the graveyard.
The sealed letter with the chalice-and-eye sigil hidden under the miller's floorboard, and the crypt key from Maren.
The undead gain advantage on their opening ambush unless the party succeeds on a DC 13 Wisdom (Perception) check. One grave — Maren's son's — is freshly dug and empty.
Suggested Level: 2-3
Ancient burial mounds, black tree trunks, coiling mist that lightly obscures the forest.
None; the wolves' tracks confirm they serve the castle's lord.
A DC 12 Wisdom (Perception) check hears the pack closing before the ambush. Holy water or holy symbols make the wolves hesitate (disadvantage on their first attacks).
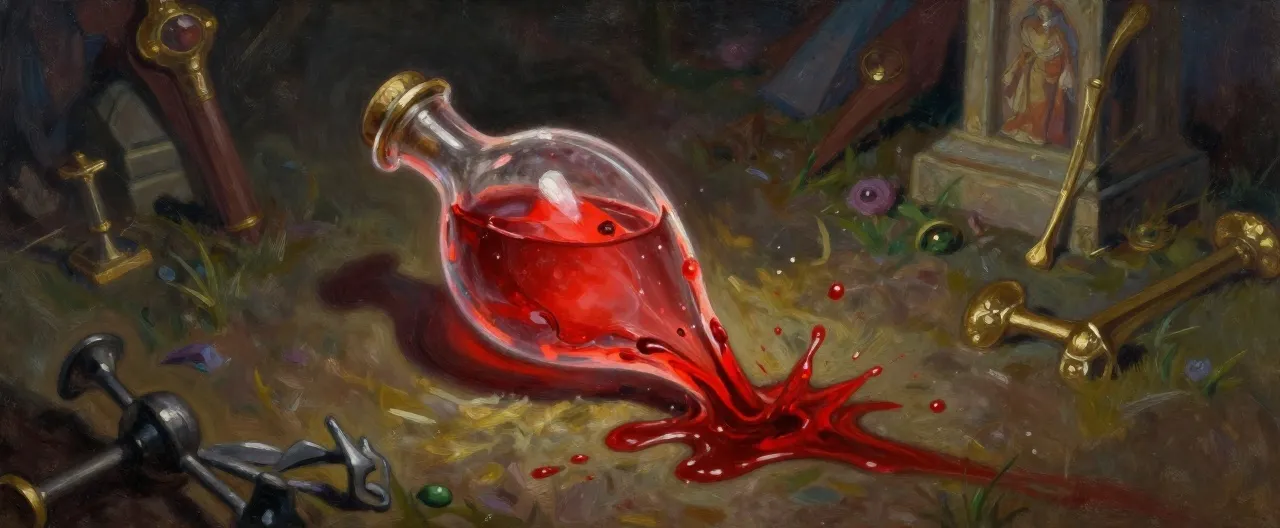 Vial of Consecrated Blood
Completed
Vial of Consecrated Blood
Completed
Given by Elder Maren at the shrine, or found among the chapel's desecrated altar tools.
none
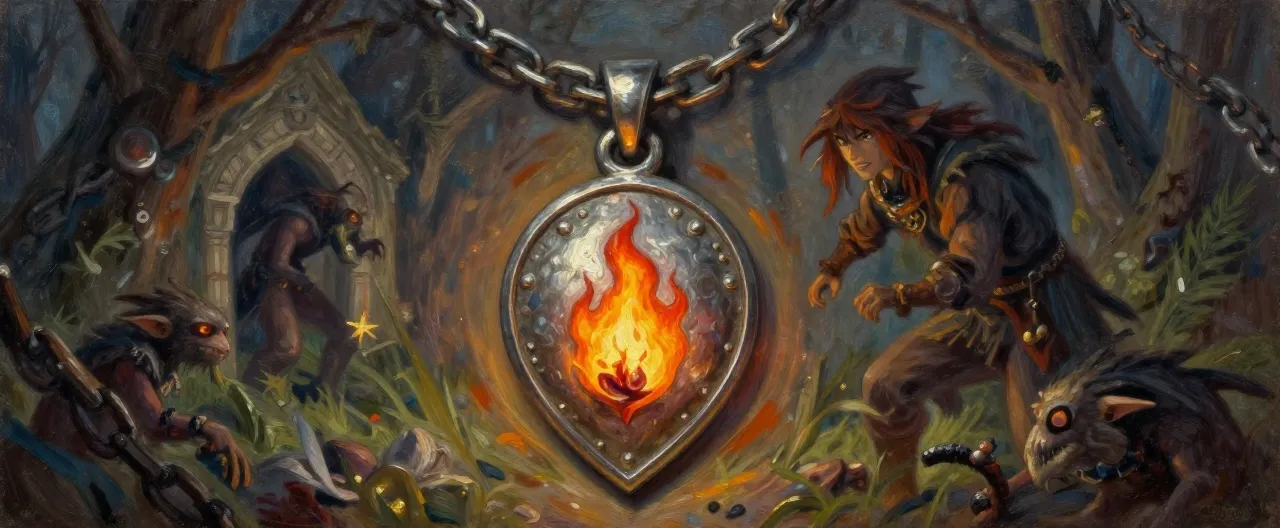 Amulet of the Vigilant Heart
Completed
Amulet of the Vigilant Heart
Completed
Found on a chain around the neck of a fallen hunter in the Barrowwood, or in the gatehouse among the goblins' loot.
required
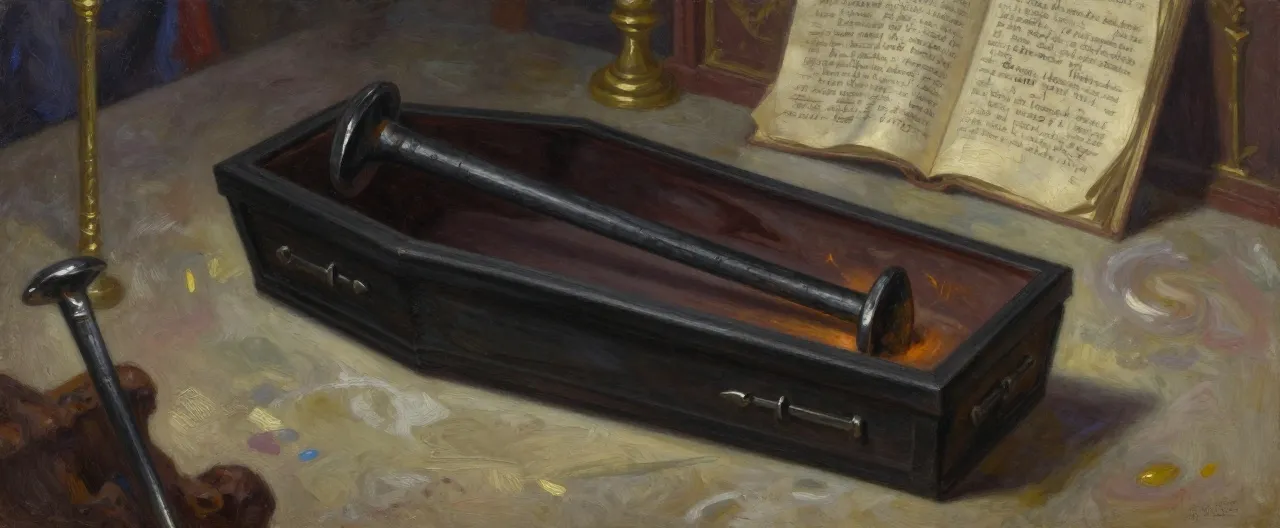 Coffin Nail of Severing
Completed
Coffin Nail of Severing
Completed
Hidden in the chapel behind the altar, wrapped in the ledger of victims — a tool Aldric feared.
none
You need to register to create and view player characters in this campaign.
Register Now